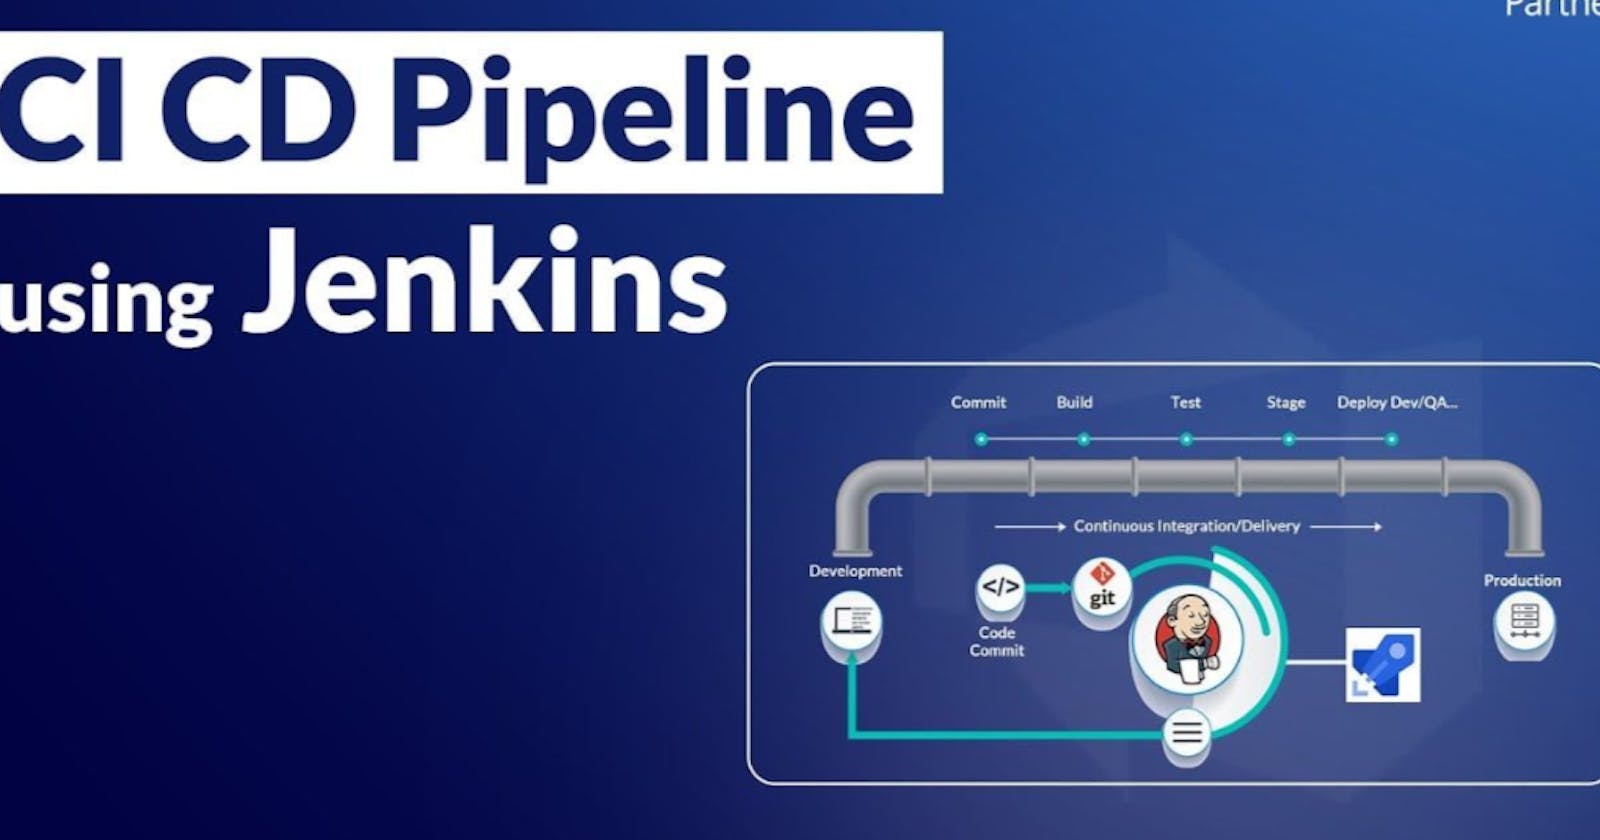
What is GitHub webhook?
A GitHub webhook is like a notification system that lets external services know when certain events happen in a GitHub repository. It sends a message to a specified URL whenever something important occurs, such as a new commit, a pull request, or an issue being opened. This helps automate tasks or integrate GitHub with other tools, allowing for real-time updates and streamlined workflows.
Here are some key features of GitHub webhooks presented in bullet points:
Real-time notifications: Get instant updates when specific events happen in a GitHub repository.
Customizable events: Choose which events trigger the webhook, such as commits, pull requests, or issues.
Automated actions: Automate tasks or workflows based on webhook events, like triggering builds or deployments.
Integration capabilities: Seamlessly integrate GitHub with other tools and services.
Security measures: Implement encryption and authentication to ensure secure communication.
Configurable settings: Easily configure and manage webhooks using GitHub's user-friendly interface.
Flexibility: Adapt webhooks for various purposes like CI/CD, issue tracking, or notifications.
Connection Between GitHub & Jenkins
Step 1--> Generate SSH keys on the Jenkins server with the "ssh-keygen" command.
Type the
ssh-keygencommand and press Enter.You will be prompted to specify the location to save the keys. Press Enter to accept the default location, or provide a desired file path.
The
ssh-keygencommand will generate both the public and private keys. The public key will have a ".pub" extension and the private key will have no extension.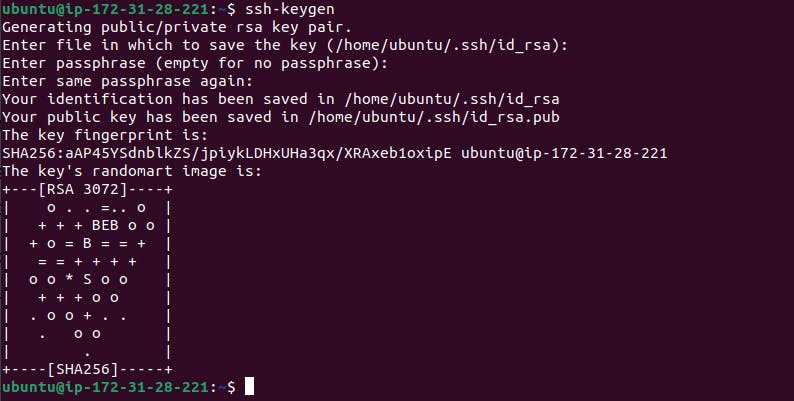
Navigate to the ".ssh" and access the "id_rsa.pub" public key with "cat id_rsa.pub" command.
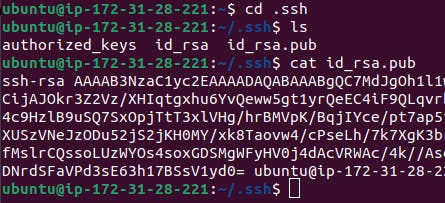
- Copy the public key.
Step 2-->**Configure the GitHub
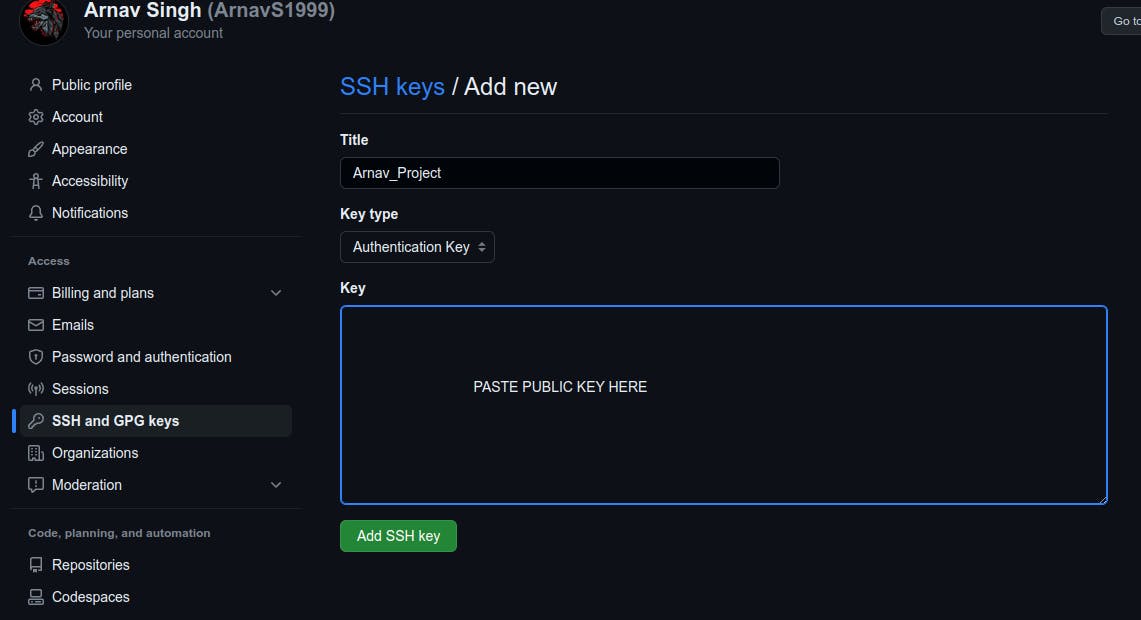
Copy the generated SSH public key on the Jenkins server and add the public key to your GitHub account. This allows Jenkins to securely interact with your GitHub repository.
- Go to the GitHub Account Settings. Then navigate to SSH and GPG keys and fill out the details and paste the public key.

Set up a pipeline for a Node-Todo application
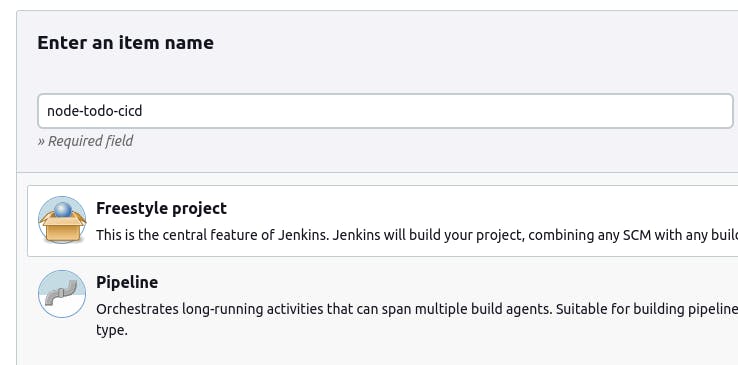
Step 1--> Create a new Jenkins job: In the Jenkins dashboard, click on "New Item" to create a new job. Choose a suitable job type, such as a Freestyle project or a Pipeline, and configure it accordingly.
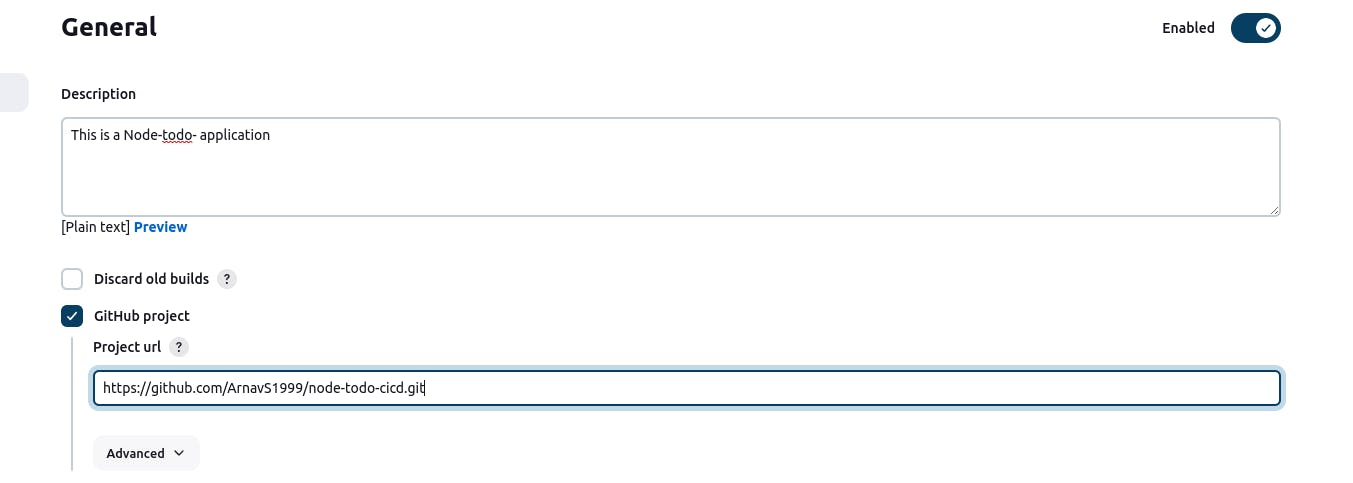
Step 2--> In the job configuration, provide the Description and GitHub project URL.
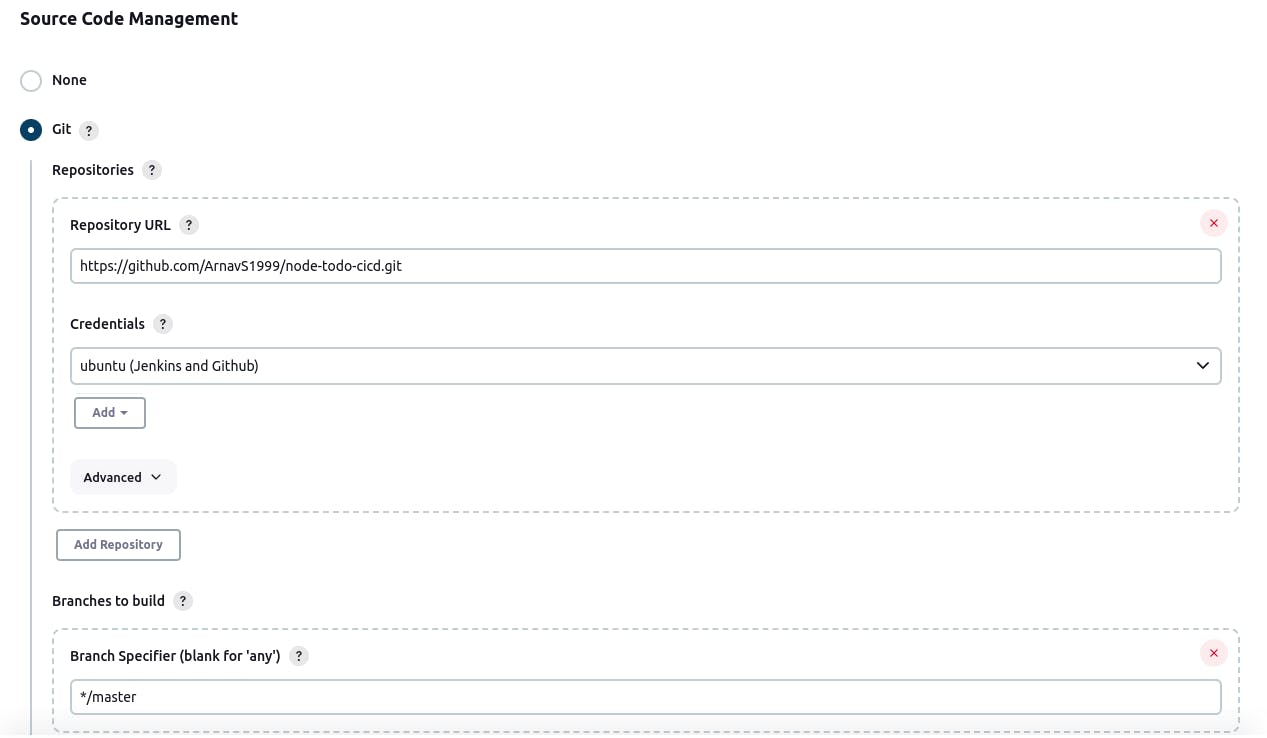
Step 3--> In Source Code Management, provide the GitHub repository URL, and select the appropriate branch.
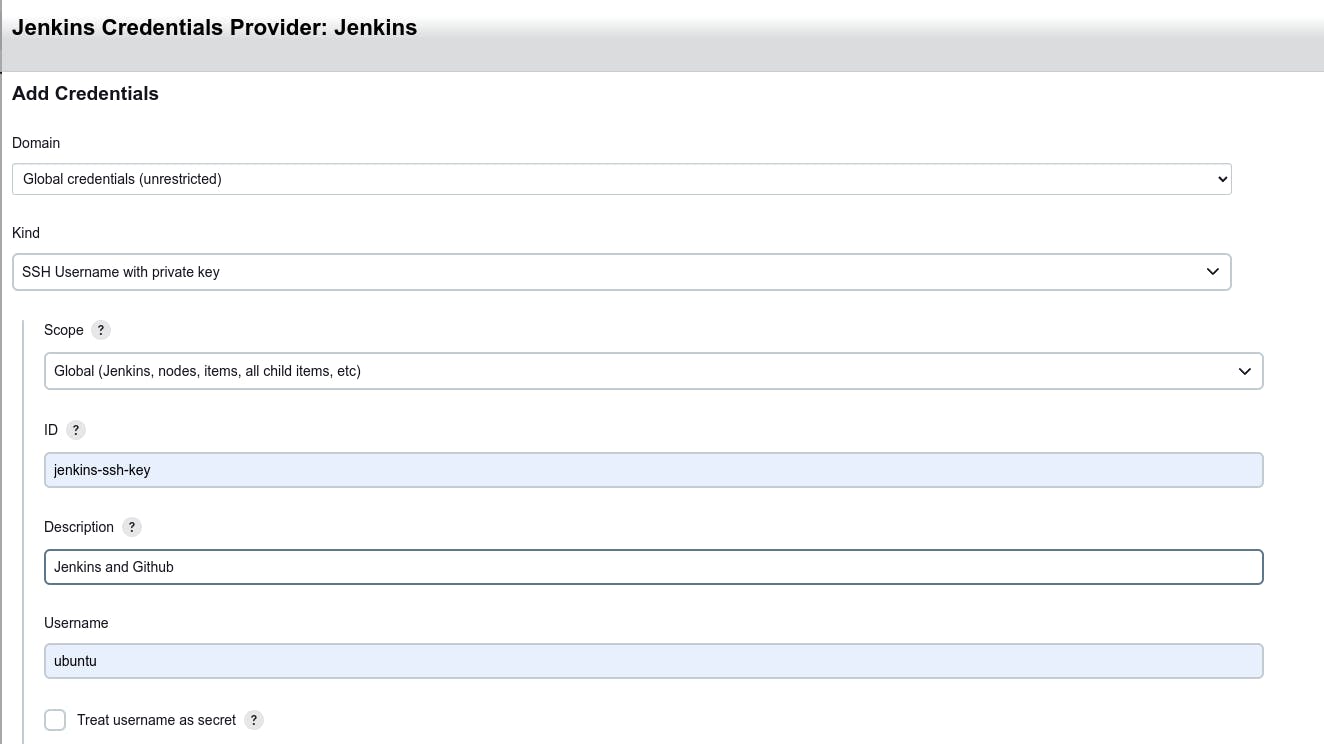
Set up the credentials for Jenkins to access the repository.

Step 4--> Now, go to Build Steps and choose the execute shell build option.
docker-compose down
docker-compose up -d
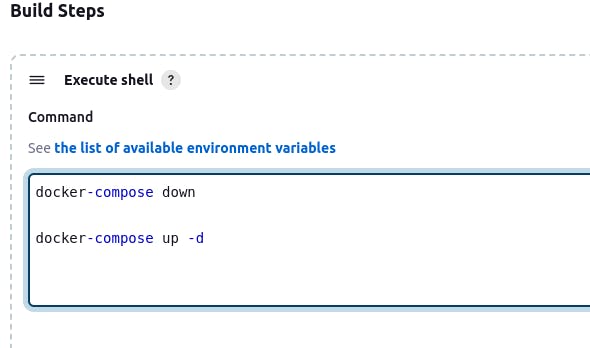
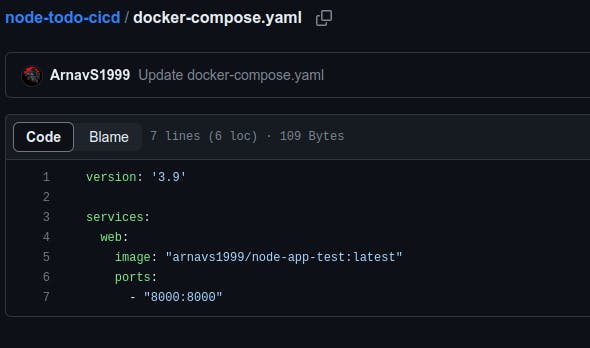
Note: Docker-Compose uses the YAML file which is present in the project.
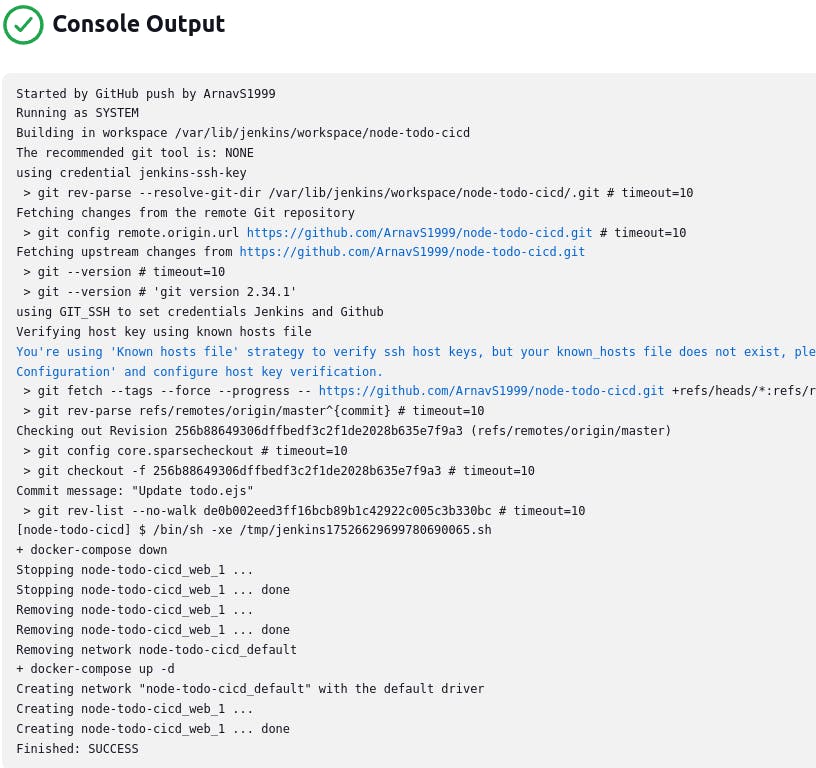
Step 5--> Now click on SAVE and go to Build Now and click on it and check for console output.
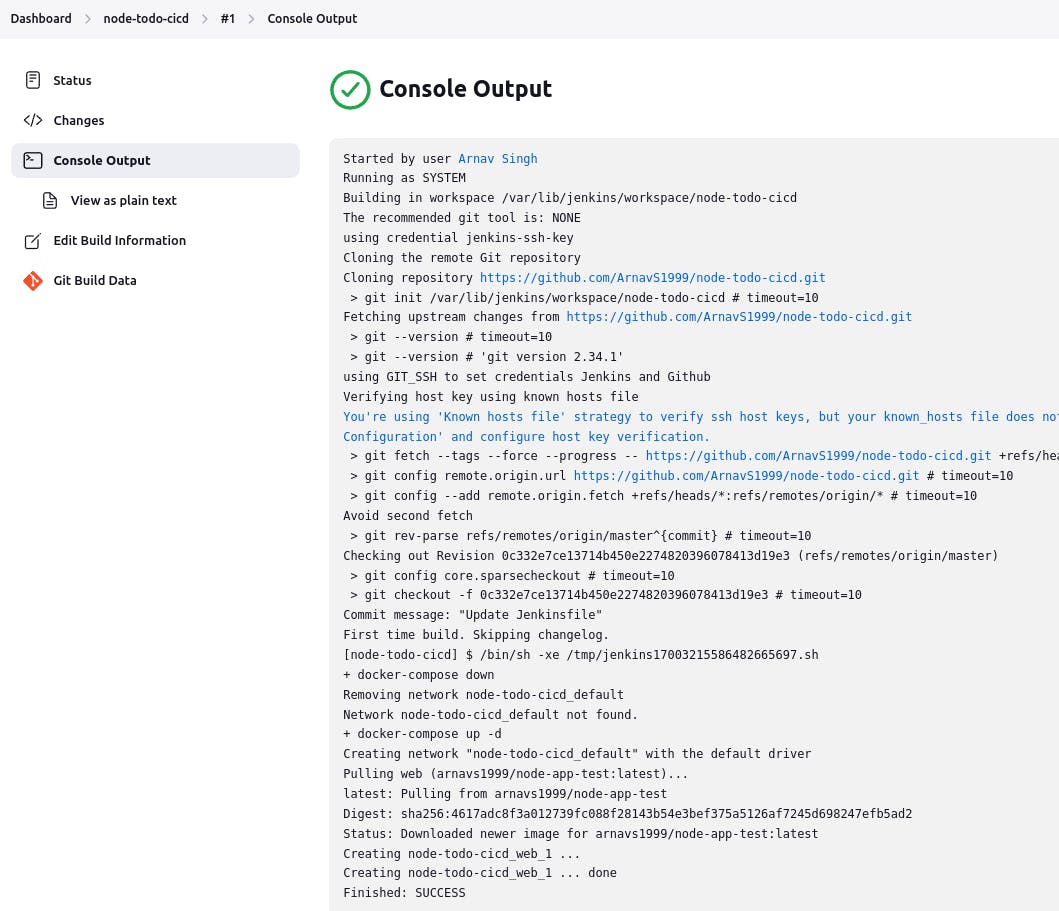
Step 6--> Once the output shows Finished: SUCCESS that means our application is ready.
Add port 8000 in the inbound rules in the EC2 instance security group.
To test the application deployment, open the application with xx.xx.xx.xx:8000 (replace xx with your IP address) in the browser.

Setting up Webhook:-
Step 1-->Navigate to the Manage Jenkins option from your Jenkins dashboard.

Step 2-->Then Choose the Manage Plugins option --> Then install a plugin for GitHub integration with Jenkins called GitHub Integration.
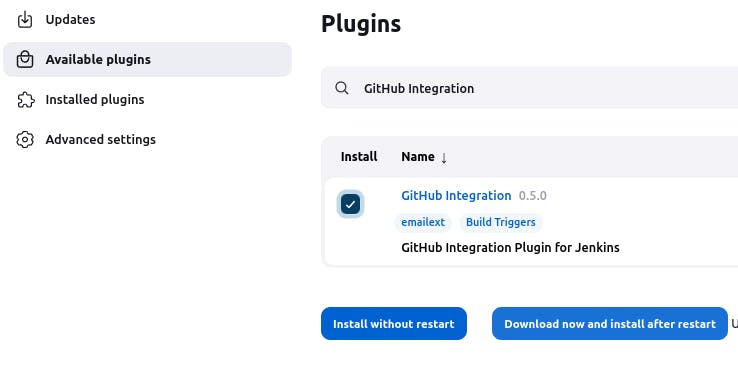
Step 3-->Install and Restart Jenkins.
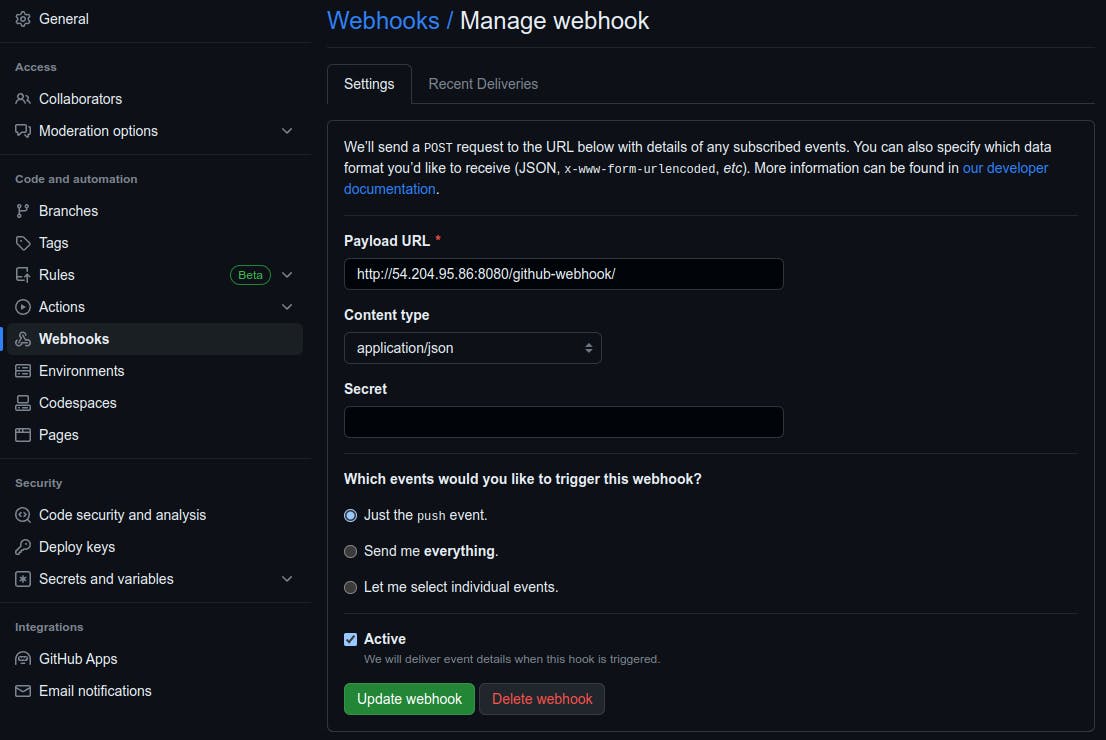
Step 4-->Configure Webhook in GitHub: In your GitHub repository, go to "Settings" > "Webhooks" > "Add webhook." Provide the Jenkins webhook URL “<Jenkins url>/github-webhook/”, select the events to trigger the webhook (e.g., push, pull request), and save the webhook configuration.

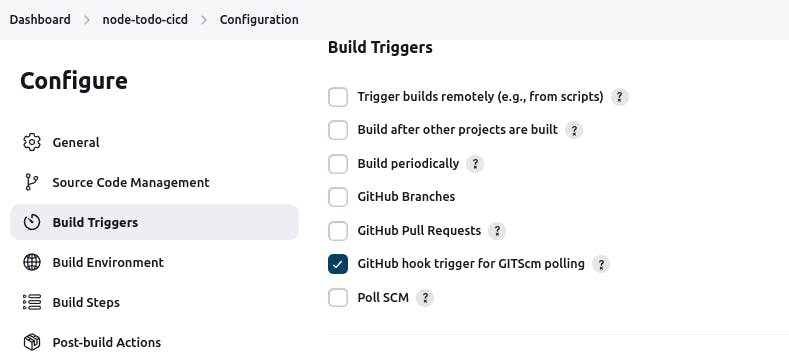
Step 5-->Now in Jenkins, Go to "Dashboard" > "node-todo-cicd" > "configuration" > "Build Triggers" and check ✅GitHub Hook trigger for GITScm pooling and save it.
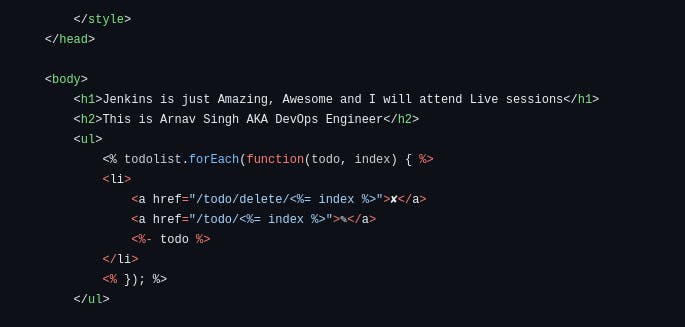
Step 6-->Test the Connection: Make a change in your GitHub repository, such as pushing new code or creating a pull request. Check if Jenkins receives the webhook notification and triggers the associated build job.
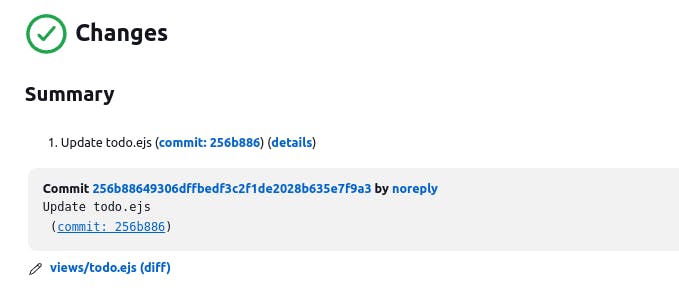
As soon as changes are committed, the new build will be initiated automatically in Jenkins.

Thank you for reading. I hope you were able to understand and learn something new from my blog.
Happy Learning!
Please follow me on Hashnode and do connect with me on LinkedIn ArnavSingh.
