

What is Pipeline?
In simple terms, a pipeline is a sequence of steps or stages that software goes through, from development to deployment. It automates the process, allowing for continuous integration, testing, and delivery. It ensures a streamlined, efficient, and error-free software development and release process.
What is a Declarative Pipeline?
In simple terms, a declarative pipeline is a way to define your software delivery process using a configuration file. It allows you to describe the steps and stages of your pipeline in a clear and easy-to-understand manner, making it simpler to manage and maintain your continuous integration and delivery workflow.
OR
Declarative is a simpler way of writing pipeline scripts. Instead of listing every step, you just describe what you want the pipeline to do. Jenkins takes care of the rest, making it easier to understand and maintain the pipeline without worrying about the nitty-gritty details.
What is a Scripted Pipeline?
Scripted is a traditional approach in pipeline scripting, where developers write explicit instructions for each step of the pipeline. It offers more flexibility and control but can be complex. Developers need to define every detail, making it more code-heavy and potentially harder to maintain compared to the declarative approach.
Why you should have a Pipeline?
Having a pipeline is crucial because it automates the software development process, ensuring consistent and efficient delivery. It eliminates manual errors, streamlines testing, and allows for continuous integration and deployment. A pipeline saves time, improves productivity, and ensures reliable software releases.
The definition of a Jenkins Pipeline is written into a text file (called a Jenkinsfile) which in turn can be committed to a project’s source control repository.
This is the foundation of "Pipeline-as-code"; treating the CD pipeline as a part of the application to be versioned and reviewed like any other code.
Creating a Jenkinsfile and committing it to source control provides several immediate benefits:
Automatically creates a Pipeline build process for all branches and pull requests.
Code review/iteration on the Pipeline (along with the remaining source code).
Pipeline syntax
pipeline {
    agent any
    stages {
        stage('Build') {
            steps {
                //
            }
        }
        stage('Test') {
            steps {
                //
            }
        }
        stage('Deploy') {
            steps {
                //
            }
        }
    }
}
Here's a breakdown of what each section does:
pipeline: Denotes the start of the pipeline block.agent any: Specifies that the pipeline can run on any available Jenkins agent, which is the machine or environment where the pipeline will be executed.
Inside the stages block, there are three stages defined:
Build: Represents the first stage of the pipeline. This stage typically includes steps like compiling source code, resolving dependencies, and generating build artifacts.Test: Represents the second stage of the pipeline. This stage usually involves running automated tests to verify the functionality and quality of the built code.Deploy: Represents the third and final stage of the pipeline. This stage typically includes steps to deploy the application to the target environment, such as a server or cloud platform.
Task-01:Create a New Job using Pipeline Hello World Example
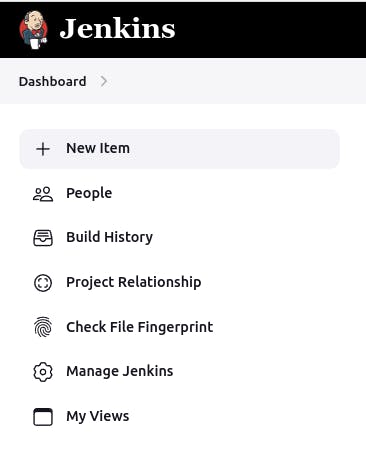
Log in to your Jenkins instance and navigate to the Jenkins dashboard.
Click on "New Item" to create a new job.
Enter a name for your job ( "HelloWorldJob") and select "Pipeline" as the job type.
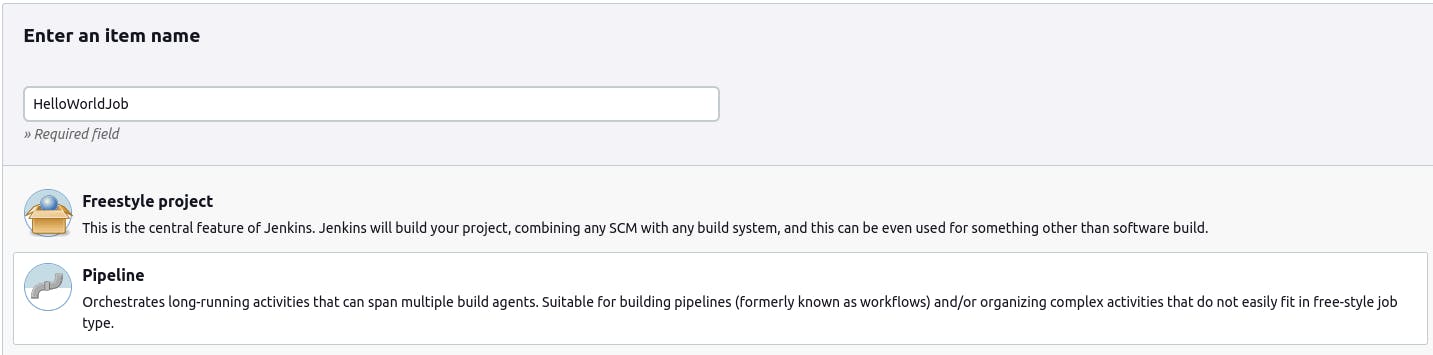
Click on "OK" to proceed to the job configuration.
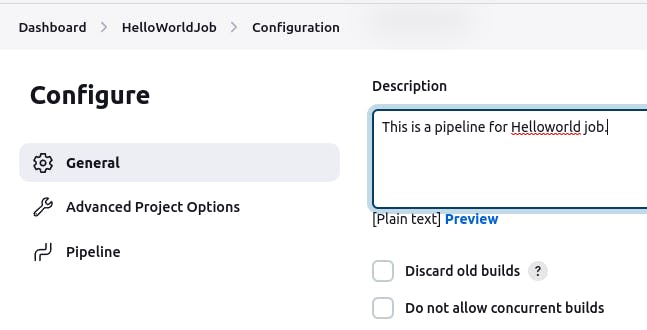
Enter a description.
In the Pipeline section, select "Pipeline script" as the Definition.
Enter the following code:-
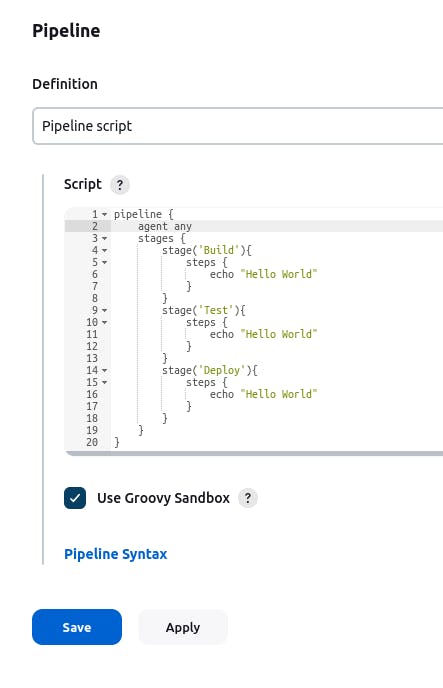
Click on "Save" to save the job configuration.
Now go to Dashboard and click on "Build Now" and we can see "Stage View".
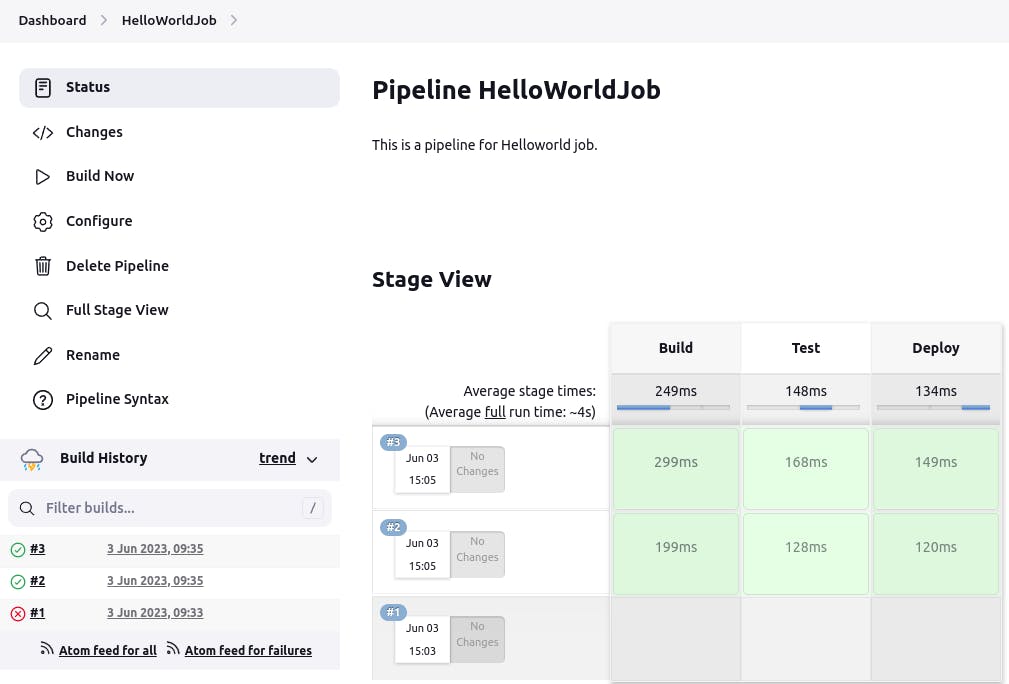
Once the build is successful, you can go to the console output and check the output of the build.

Thank you for reading. I hope you were able to understand and learn something new from my blog.
Happy Learning!
Please follow me on Hashnode and do connect with me on LinkedIn ArnavSingh.