

Jenkins Master
Jenkins Master is the central control hub of Jenkins that manages jobs, schedules build, coordinates agents, and handles the overall automation process. It acts as the brains behind the operation, orchestrating the CI/CD pipeline and ensuring the smooth execution of tasks.
Jenkins Agent
Jenkins Agent is a worker node that performs tasks delegated by the Jenkins Master. It executes build and deployment processes, runs tests, and carries out other automation tasks. Agents connect to the master, receive instructions, and provide the computing power needed to execute jobs, allowing for distributed and parallelized workflows.
OR
An agent is typically a machine or container that connects to a Jenkins master and this agent executes all the steps mentioned in a Job. When you create a Jenkins job, you have to assign an agent to it. Every agent has a label as a unique identifier.
When you trigger a Jenkins job from the master, the actual execution happens on the agent node that is configured in the job.
A single, monolithic Jenkins installation can work great for a small team with a relatively small number of projects. As your needs grow, however, it often becomes necessary to scale up. Jenkins provides a way to do this called “master to agent connection.” Instead of serving the Jenkins UI and running build jobs all on a single system, you can provide Jenkins with agents to handle the execution of jobs while the master serves the Jenkins UI and acts as a control node.

Deploy web app using Jenkins master and worker node.
Here we will deploy a web app through Jenkins master to the Jenkins worker node.
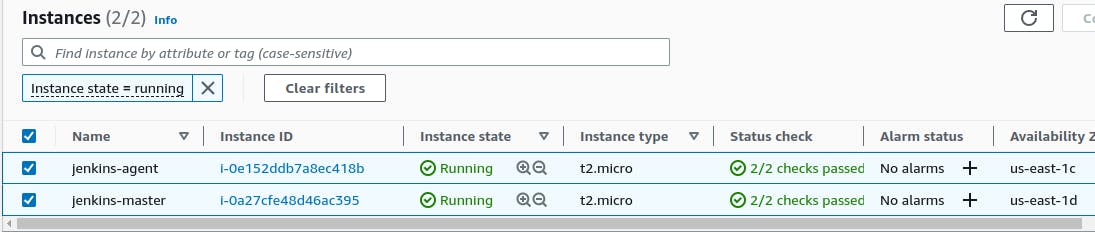
Step 1--> Create 2 EC2 instances Jenkins -master & Jenkins -agent.
Step 2--> Before proceeding with the deployment using Jenkins Master and a worker node, please ensure that the Jenkins Master node has Jenkins preinstalled and the worker node (agent) has Java preinstalled. Jenkins relies on Java for its execution.
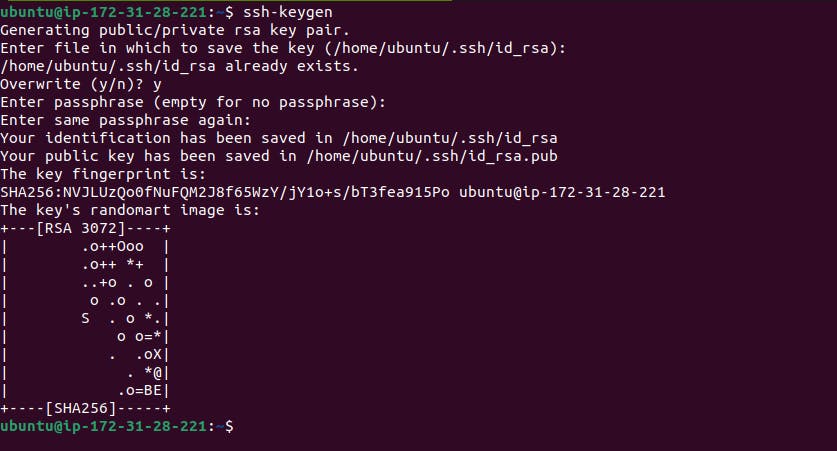
Step 3--> Generate SSH keys on “Jenkins-server” by running “ssh-keygen”.
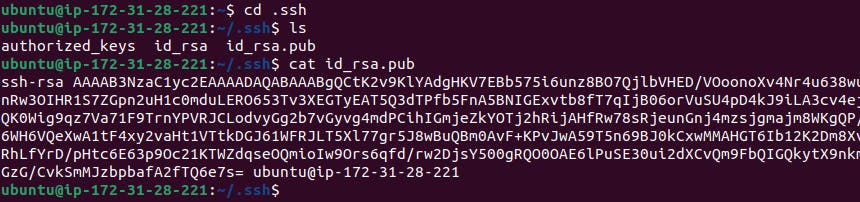
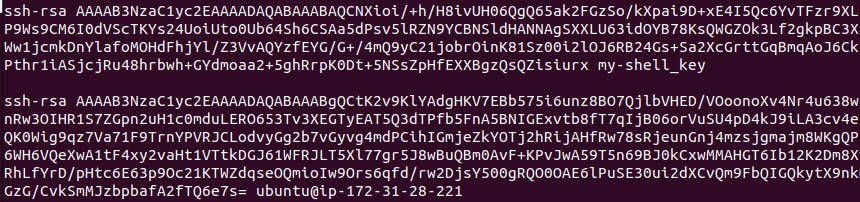
Step 4--> Now navigate to the “.ssh” folder and there will be public and private keys in Jenkins-master.
Copy the public key.
Step 5--> Add public key from “Jenkins-master” to “Jenkins-agent" under location “.ssh/authorized_keys”.

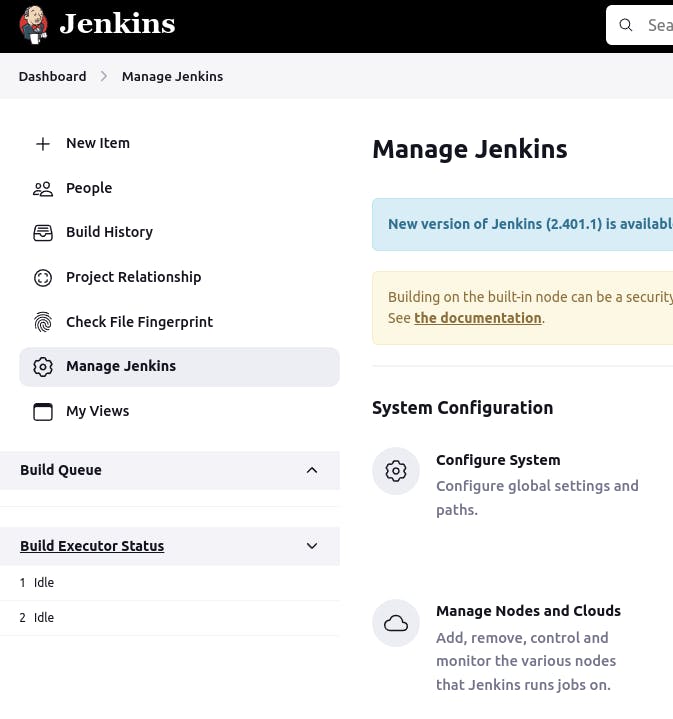
Step 6--> Go to the Jenkins dashboard -> manage Jenkins -> Manage Nodes and Clouds
Step 7--> Now, click on “+ New Node”.

Step 8--> Add details of your second node, accordingly.

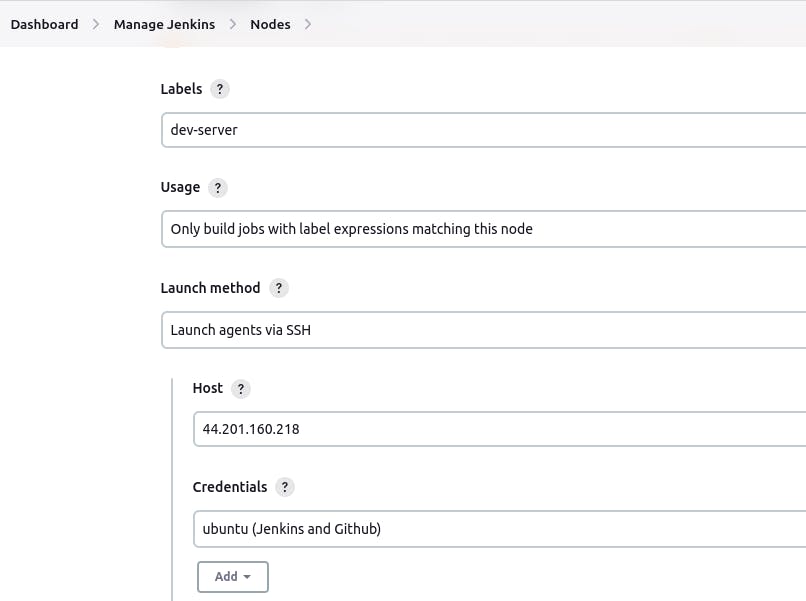
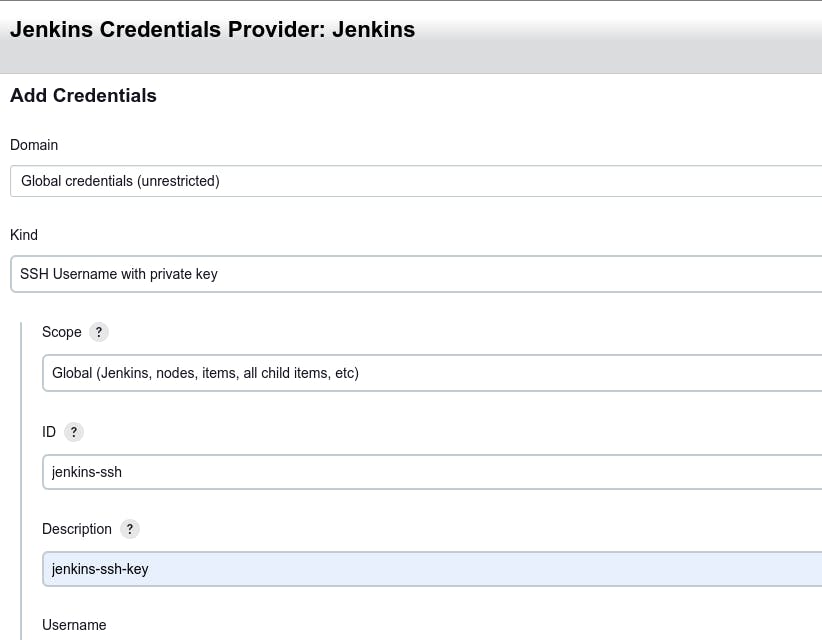
Provide the Credentials and Give the private key of "Jenkins-master".

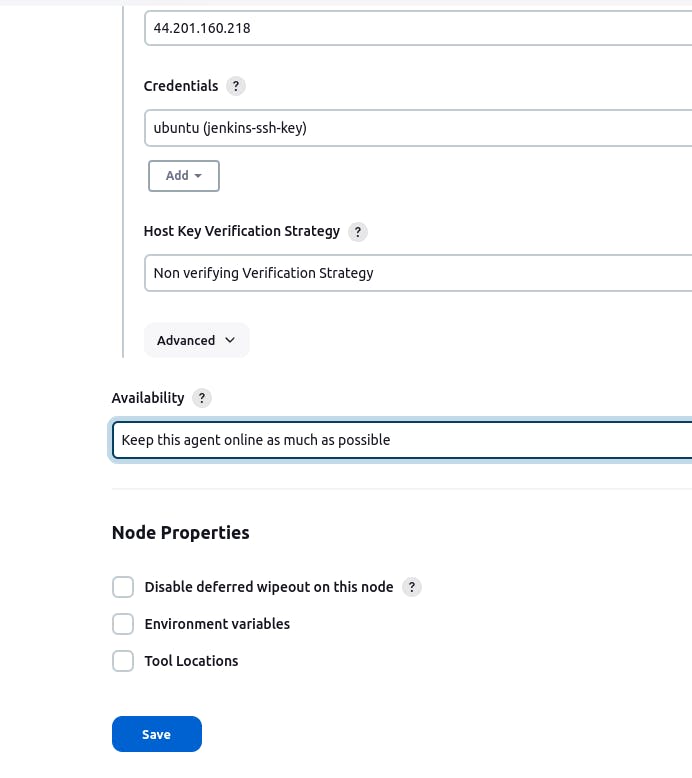
After clicking on Save Node will be connected and online.

Step 9--> Write JenkinsFile and Commit in your project GitHub Repository.
 pipeline{
     agent { label "dev-server" }
     stages{
         stage("Clone Code"){
             steps{
                 git url: "https://github.com/ArnavS1999/node-todo-cicd.git", branch: "master"
             }
         }
         stage("Build and Test"){
             steps{
                 sh "docker build . -t node-app-test-new"
             }
         }
         stage("Push to Docker Hub"){
             steps{
                 withCredentials([usernamePassword(credentialsId:"DockerHub",passwordVariable:"dockerHubPass",usernameVariable:"dockerHubUser")]){
                 sh "docker tag node-app-test-new ${env.dockerHubUser}/node-app-test-new:latest"
                 sh "docker login -u ${env.dockerHubUser} -p ${env.dockerHubPass}"
                 sh "docker push ${env.dockerHubUser}/node-app-test-new:latest"
                 }
             }
         }
         stage("Deploy"){
             steps{
                 sh "docker-compose down && docker-compose up -d"
             }
         }
     }
 }
pipeline{: Starts the definition of the pipeline block.agent { label "dev-server" }: Specifies that the pipeline should run on a node with the label "dev-server".stages{: Begins the stages block, which contains individual stages of the pipeline.stage("Clone Code"){: Defines a stage named "Clone Code".steps{: Begins the steps block for the "Clone Code" stage.git url: "https://github.com/ArnavS1999/node-todo-cicd.git", branch: "master": Clones the code repository from the specified URL and the "master" branch.stage("Build and Test"){: Defines a stage named "Build and Test".steps{: Begins the steps block for the "Build and Test" stage.sh "docker build . -t node-app-test-new": Builds a Docker image named "node-app-test-new".stage("Push to Docker Hub"){: Defines a stage named "Push to Docker Hub".steps{: Begins the steps block for the "Push to Docker Hub" stage.withCredentials([usernamePassword(credentialsId:"dockerHub",passwordVariable:"dockerHubPass",usernameVariable:"dockerHubUser")]){: Retrieves Docker Hub credentials stored in Jenkins.sh "docker tag node-app-test-new ${env.dockerHubUser}/node-app-test-new:latest": Tags the Docker image with the provided username and pushes it to Docker Hub.sh "docker login -u ${env.dockerHubUser} -p ${env.dockerHubPass}": Logs in to Docker Hub using the provided credentials.sh "docker push ${env.dockerHubUser}/node-app-test-new:latest": Pushes the tagged Docker image to Docker Hub.stage("Deploy"){: Defines a stage named "Deploy".steps{: Begins the steps block for the "Deploy" stage.sh "docker-compose down && docker-compose up -d": Shuts down existing containers and deploys new containers using thedocker-composecommand.
The pipeline executes each stage sequentially, performing the specified steps within each stage.
Step 10--> To push the Docker image to Docker Hub we have to tell Docker Hub Credientaial to Jenkins.
Manage Jenkins --> Credentials-->Stores scoped to Jenkins-->global
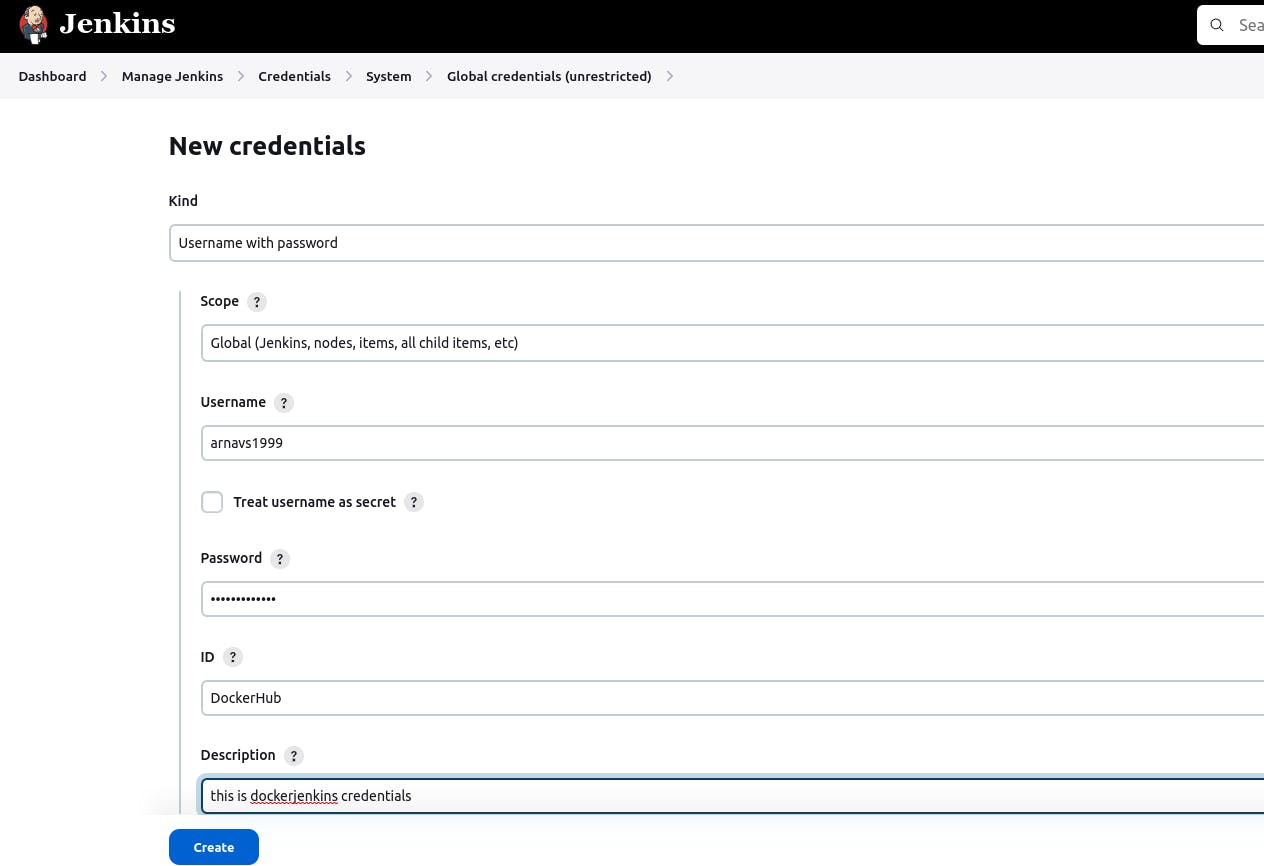
Fill in your DockerHub Username and Password.
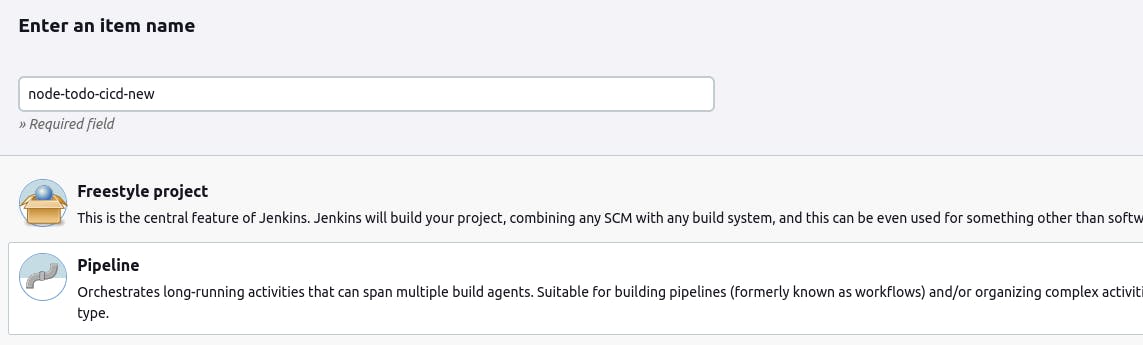
Step 11--> Now create Pipeline Project by clicking "New Item" from the Jenkins dashboard.
Step 12--> Enter "Name" and select "Pipeline" as the project type and enter ok.
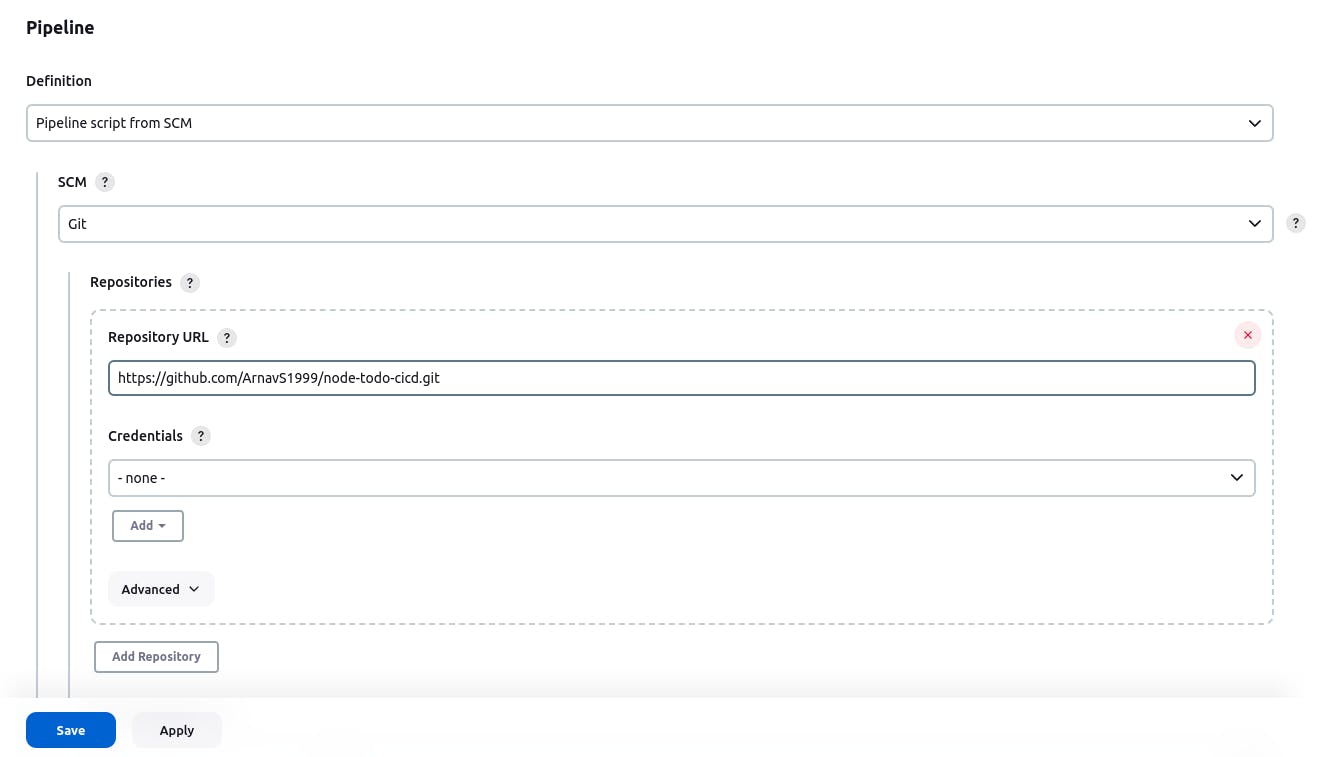
Step 13--> In the "Pipeline" section, select "Pipeline SCM" enter Git repo URL and click on "Save" to save your job configuration.
Step 14--> Now run your Pipeline by clicking on the "Build Now" button on the job's dashboard page.
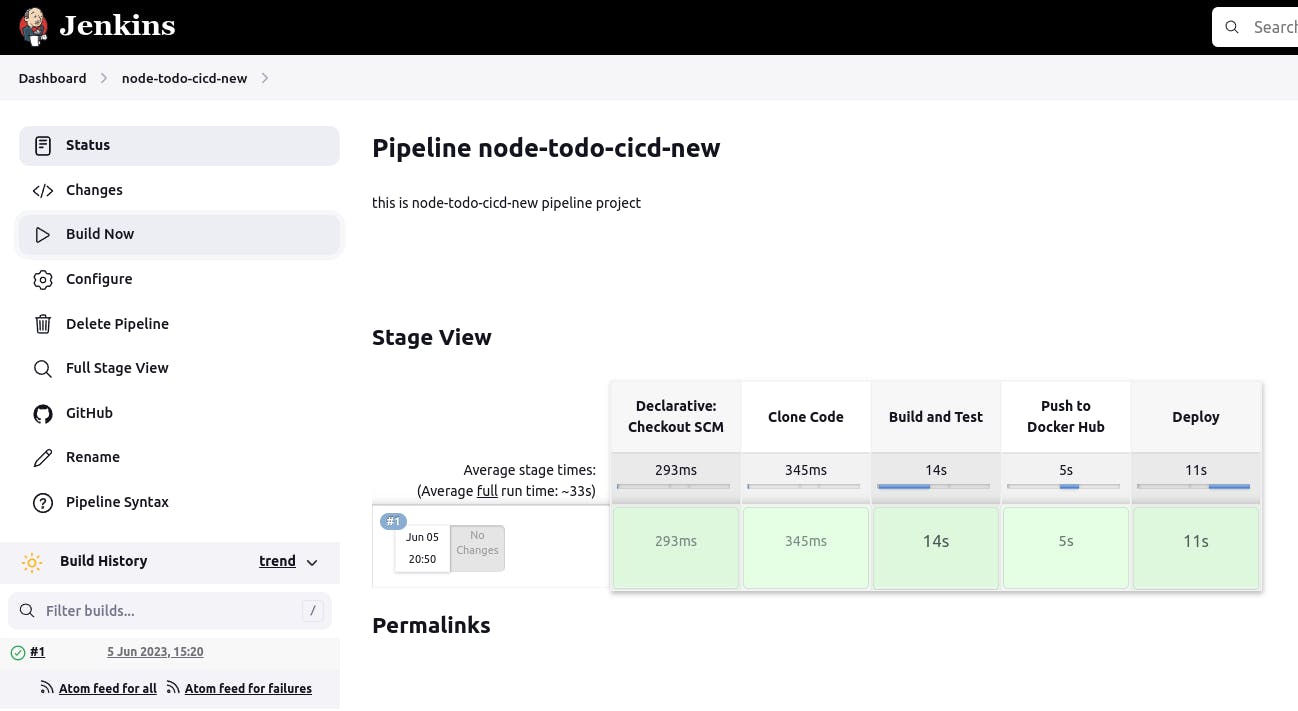
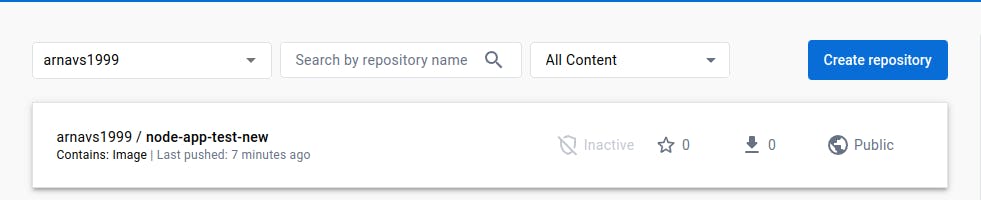
Docker Image is pushed to DockerHub successfully.
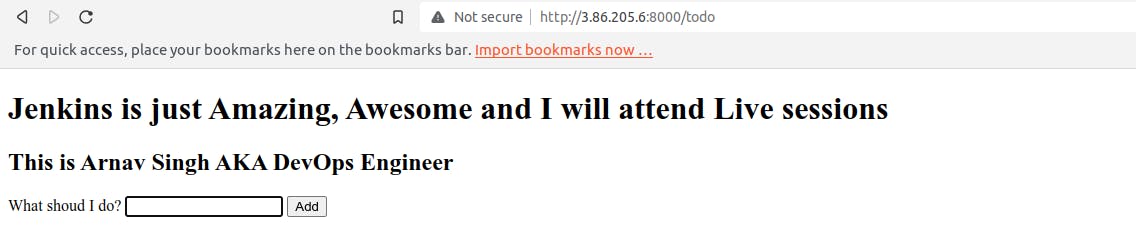
Step 15--> Once the build is successful, verify whether we can browse the application or not. <ip of Jenkins agent:8000>
Thank you for reading. I hope you were able to understand and learn something new from my blog.
Happy Learning!
Please follow me on Hashnode and do connect with me on LinkedIn ArnavSingh.