


Table of contents
- Task-01
- Task-02
- Create an Auto Scaling group using the AWS Management Console and configure it to launch EC2 instances in response to changes in demand.
- Use Amazon CloudWatch to monitor the performance of the Auto Scaling group and the EC2 instances and troubleshoot any issues that arise.
- Use the AWS CLI to view the state of the Auto Scaling group and the EC2 instances and verify that the correct number of instances are running.
Task-01
Launch an EC2 instance using the AWS Management Console and connect to it using SSH.
Install a web server on the EC2 instance and deploy a simple web application.
Monitor the EC2 instance using Amazon CloudWatch and troubleshoot any issues that arise.
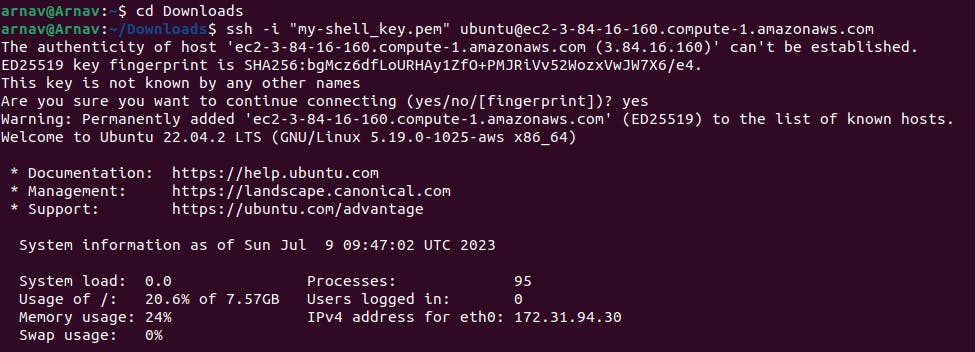
Go to the AWS console and need to launch the EC2 machine and connect it to the terminal using SSH.

- Now connect EC2 with the terminal through SSH.
Installing a Web Server and Deploying a Simple Web Application:
Update the package manager:
sudo apt update -y

Install Apache HTTP Server:
sudo apt-get install apache2 -y

Start the Apache service:
sudo systemctl start apache2

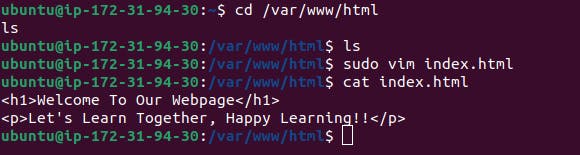
Create a simple HTML file to serve as your web application's content:
  cd /var/www/html
  ls
  sudo rm -f index.html
  sudo vim index.html
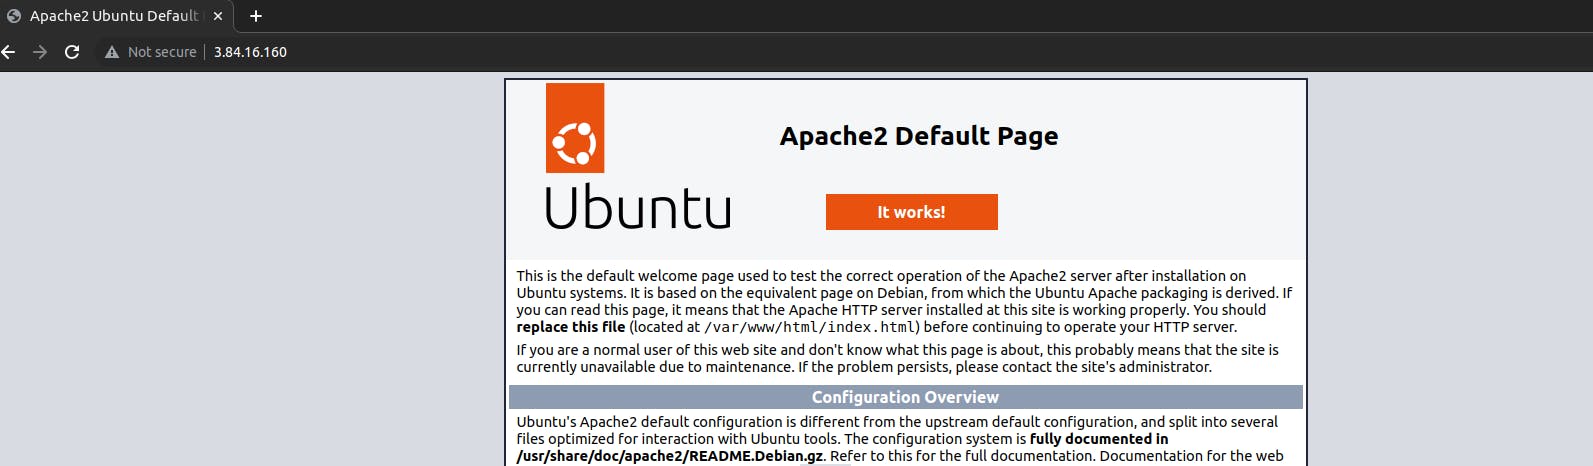
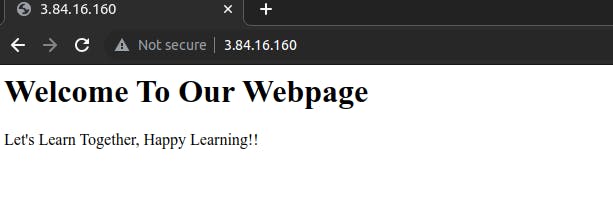
- Verify that the web server is working by accessing your EC2 instance's public IP address.
Monitoring the EC2 Instance using Amazon CloudWatch:
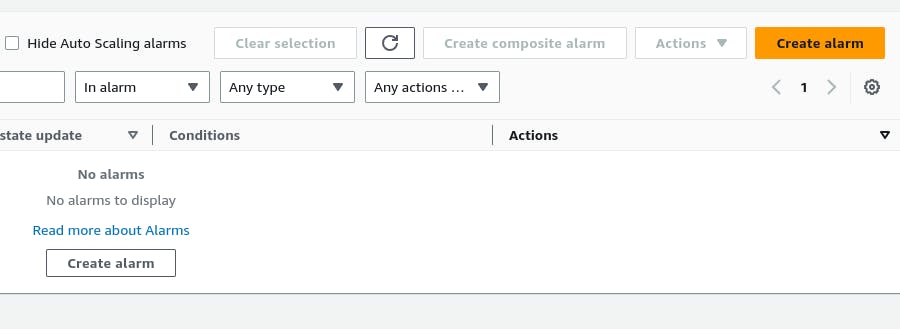
- Open the CloudWatch service in the AWS Management Console and click on Create alarm.
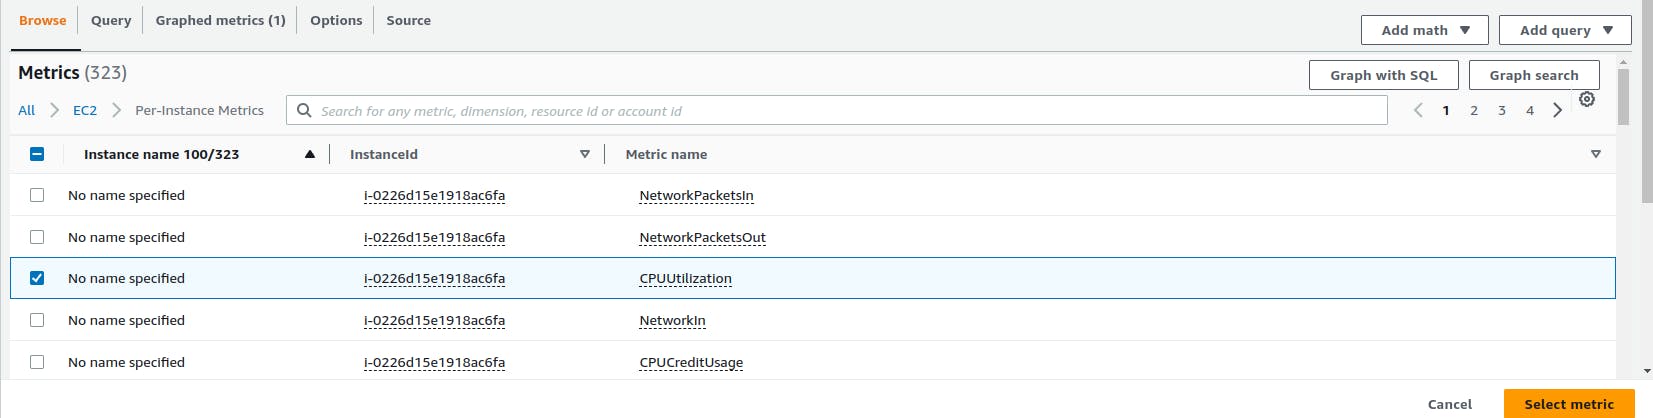
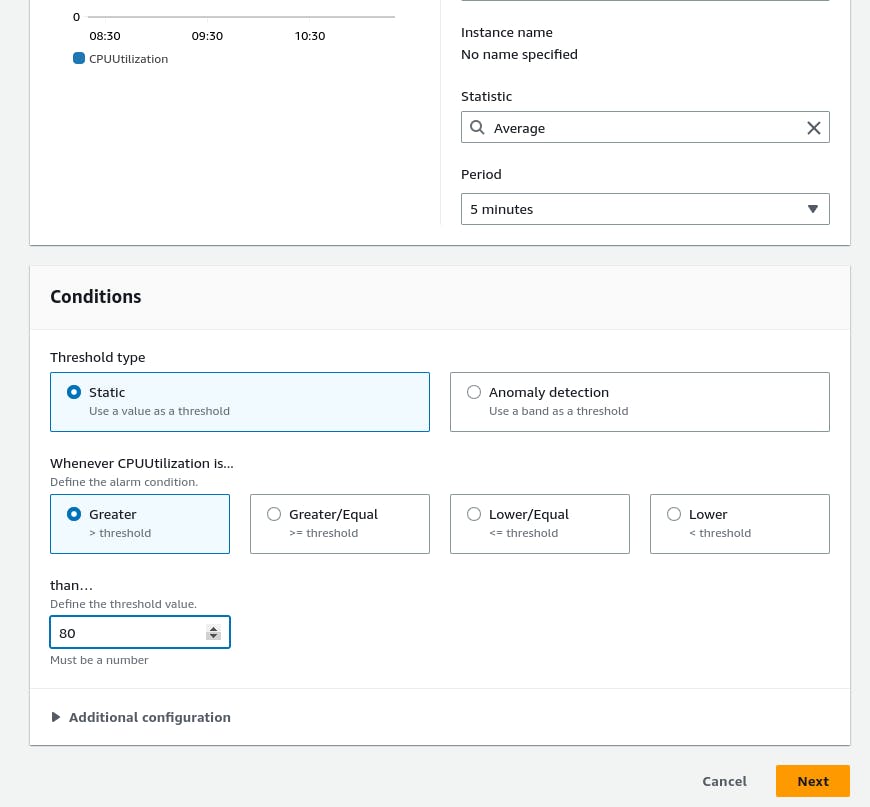
On Specify metric and conditions page click on Select metric.
Select the EC2 metric to monitor, such as CPU utilization or network traffic.
- Add the metric(s) to a CloudWatch dashboard to view real-time graphs.
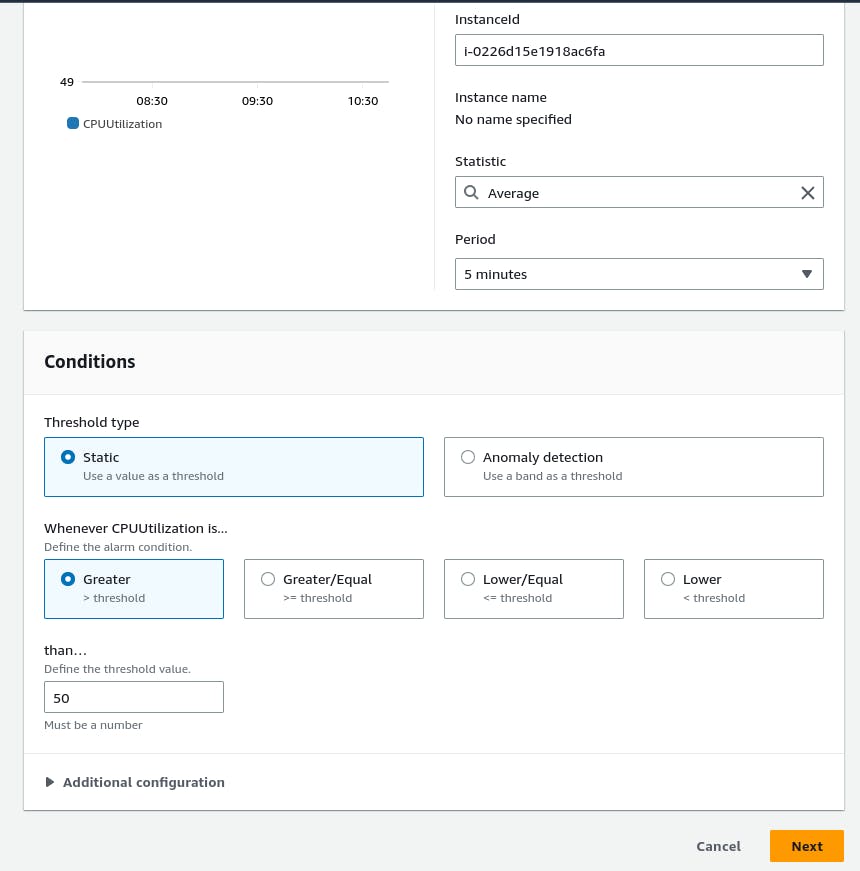
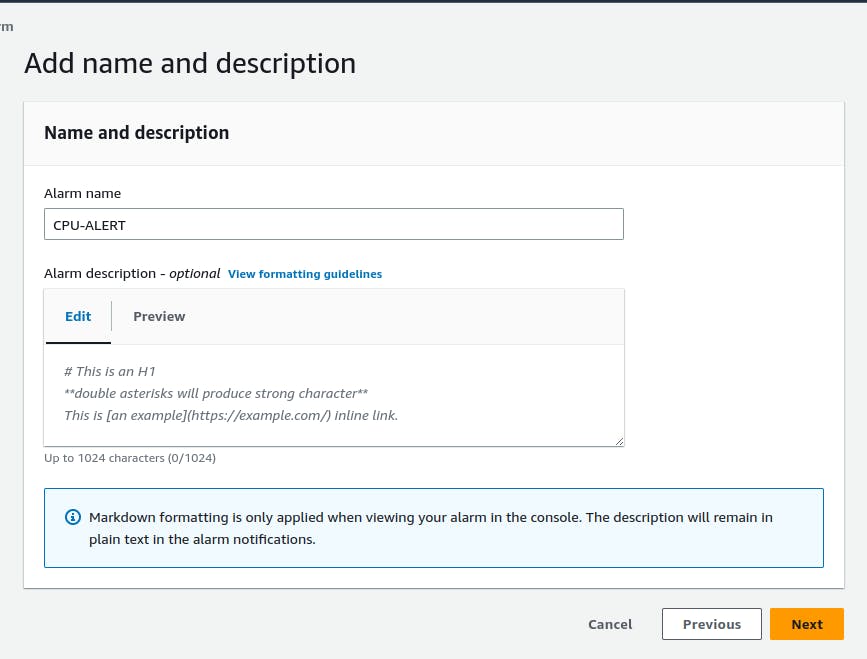
- Set up CloudWatch Alarms to get notified when certain thresholds are breached.

Task-02
Create an Auto Scaling group using the AWS Management Console and configure it to launch EC2 instances in response to changes in demand.
Use Amazon CloudWatch to monitor the performance of the Auto Scaling group and the EC2 instances and troubleshoot any issues that arise.
Use the AWS CLI to view the state of the Auto Scaling group and the EC2 instances and verify that the correct number of instances are running.
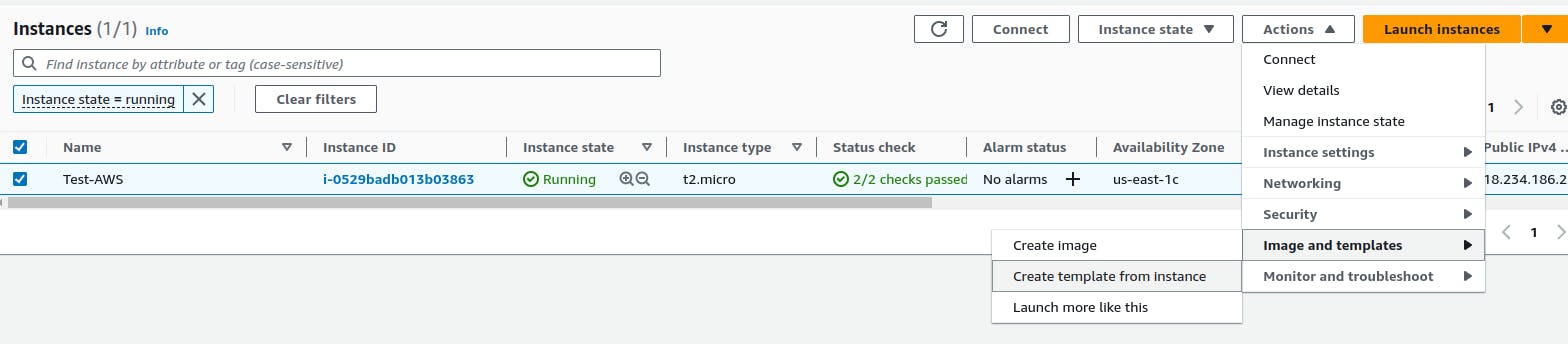
Creating an Auto Scaling Group:
- Create template from instance.

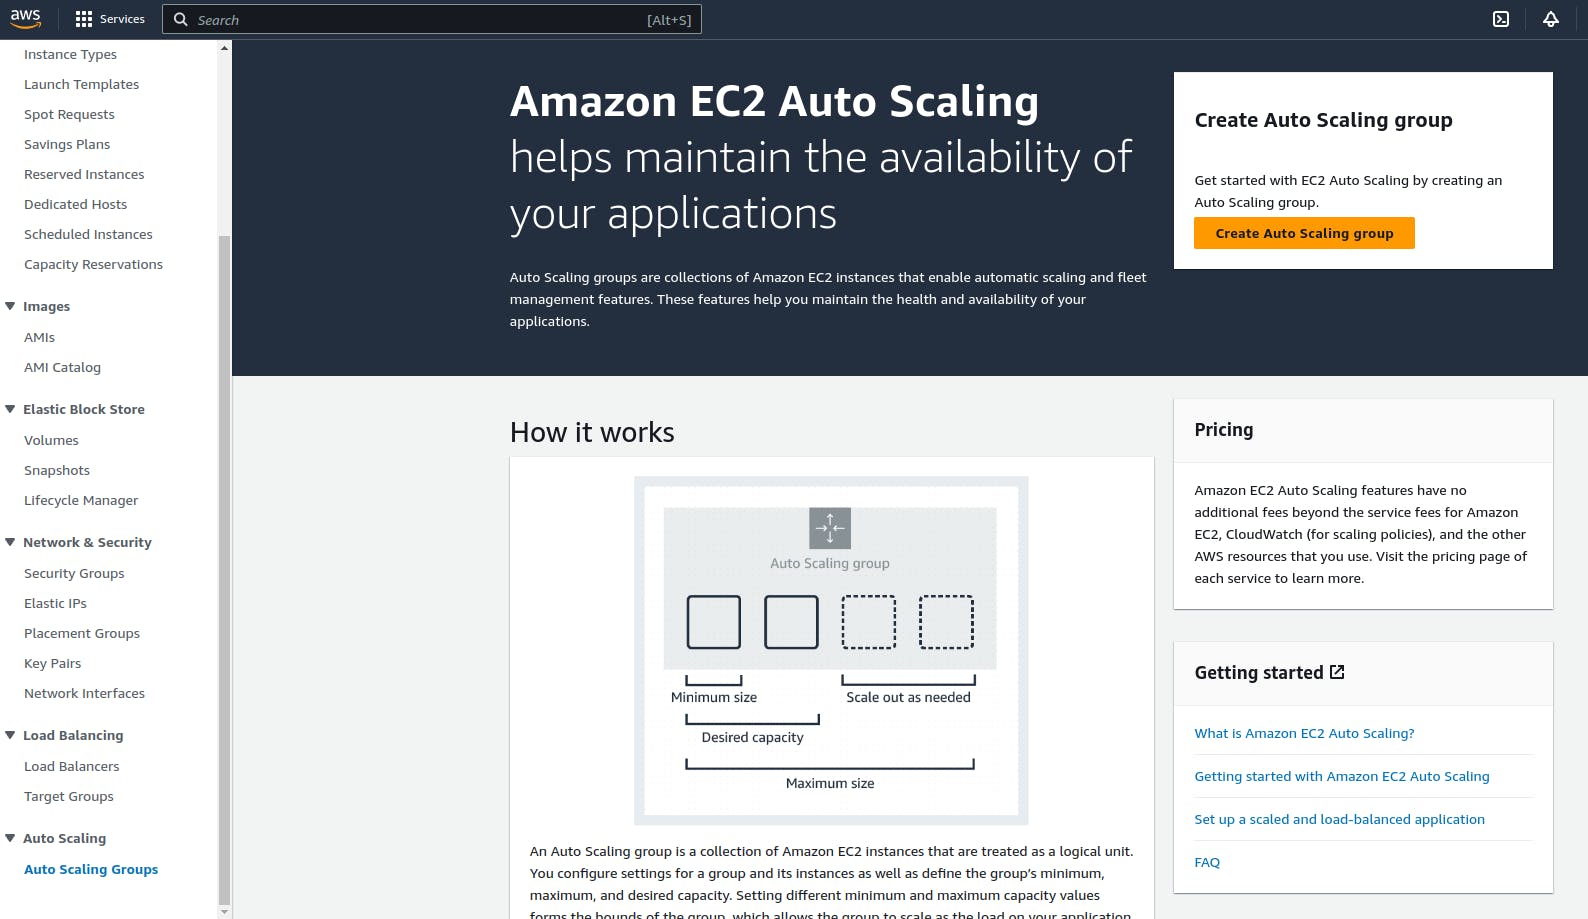
- Click on "Create Auto Scaling group" and follow the configuration wizard.
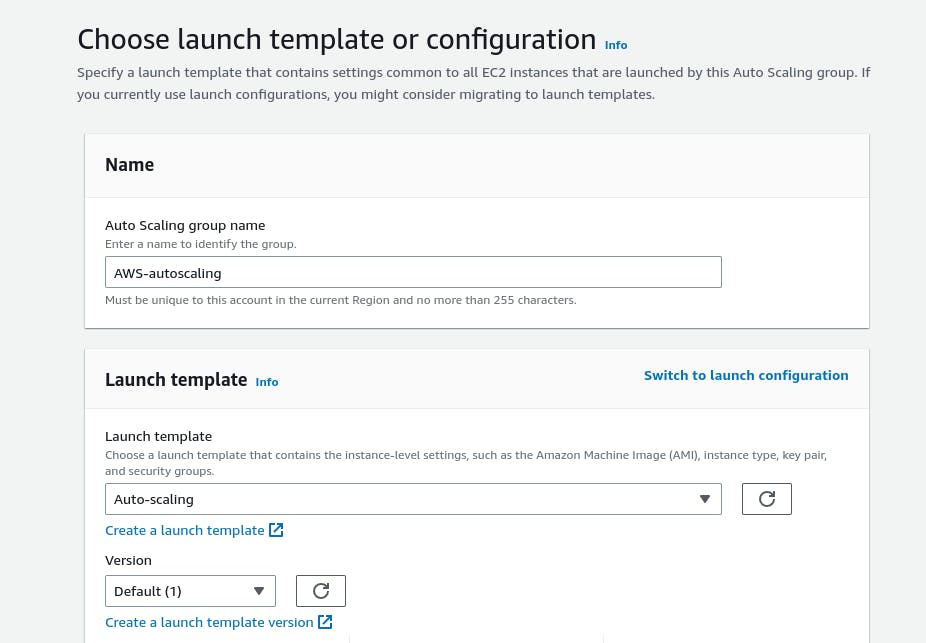
Select the desired launch template for your EC2 instances.
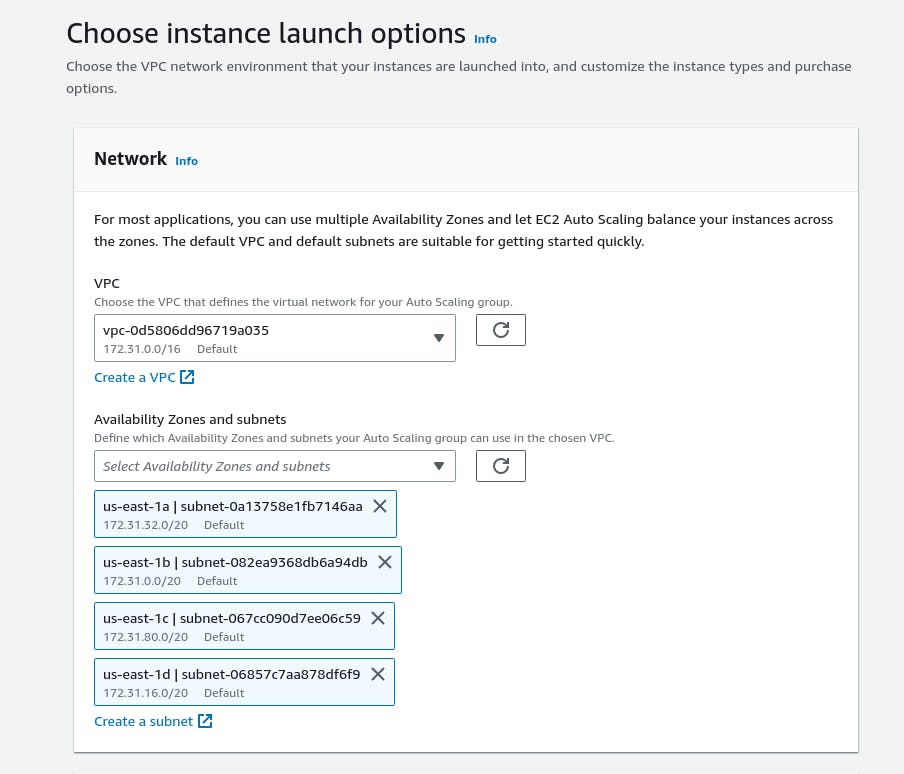
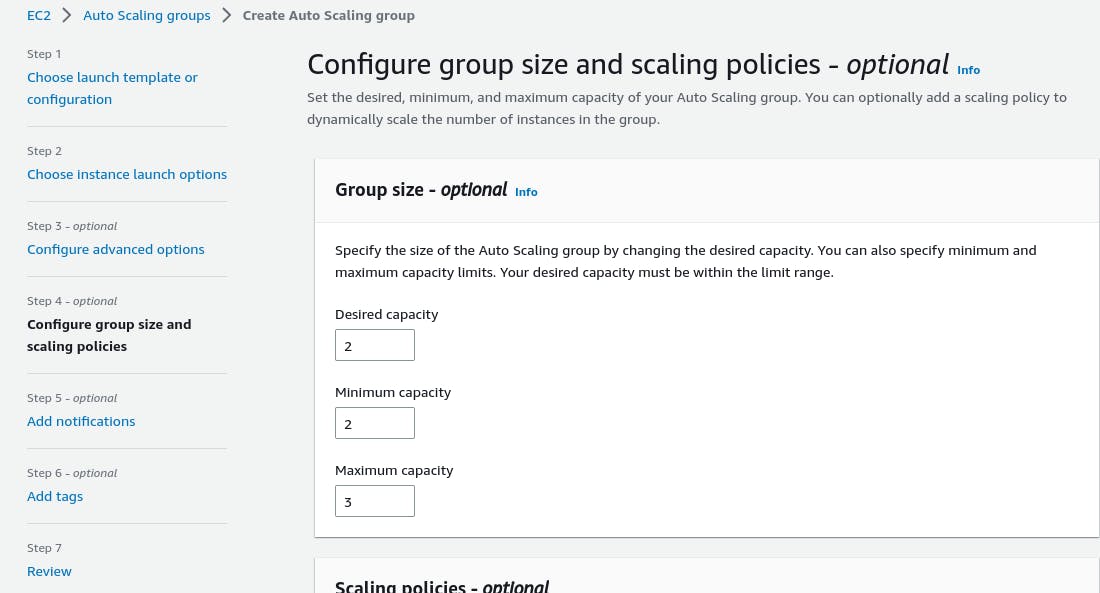
Configure the Auto Scaling group details, such as name, network settings, and instance types.
Set the desired capacity and specify the minimum and maximum number of instances the group can scale to.
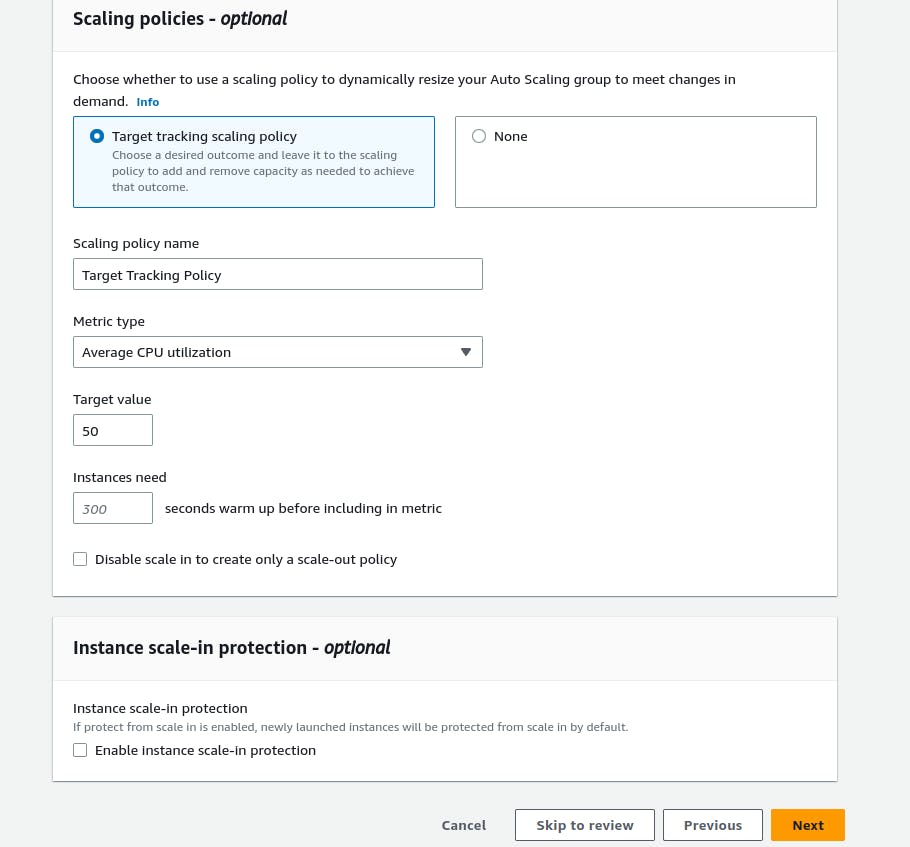
Configure scaling policies based on metrics like CPU utilization or network traffic.
- Review the Auto Scaling group settings and create the group.

Monitoring Auto Scaling Group and EC2 Instances using Amazon CloudWatch:
Open the CloudWatch service in the AWS Management Console.
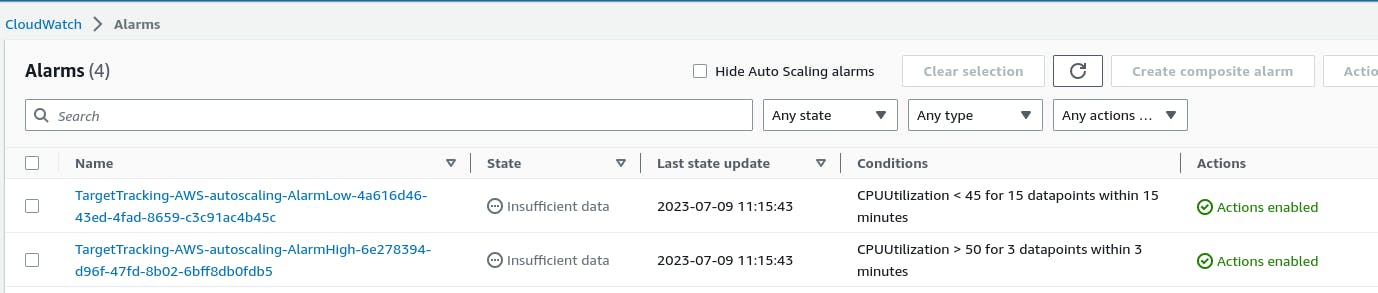
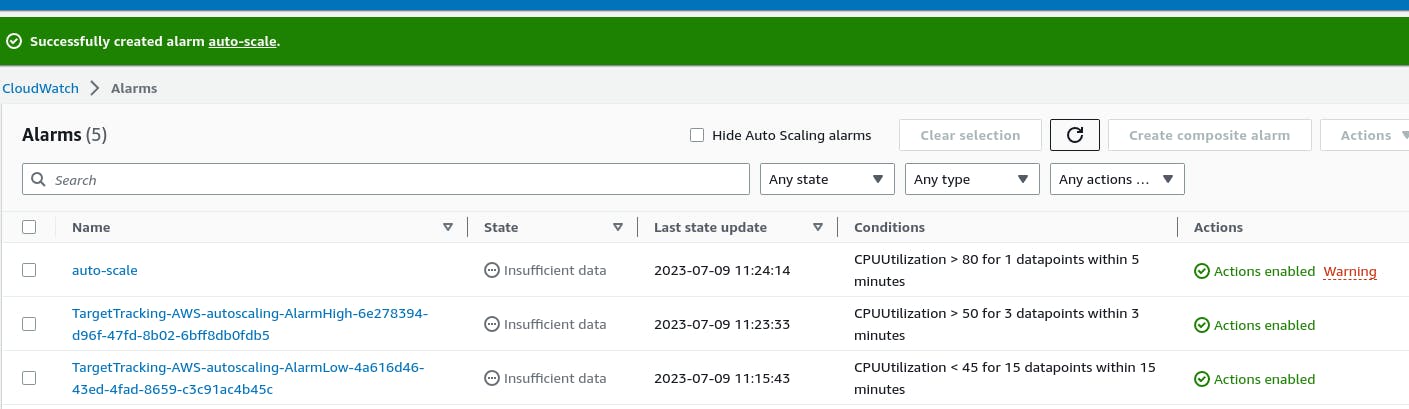
click on "Alarms" to set up alarms for specific metrics.
Create CloudWatch alarms to monitor the performance of your Auto Scaling group and EC2 instances, such as CPU utilization.
- Configure actions for the alarms, such as sending notifications.
- Monitor the CloudWatch dashboards for insights into the performance of your Auto Scaling group and EC2 instances.
Use the AWS CLI to view the state of the Auto Scaling group and the EC2 instances and verify that the correct number of instances are running.
Install the AWS CLI on the EC2 instance.
Open a terminal and install AWS CL.
sudo apt update
sudo apt-get install awscli -y
aws --version


- Provide Access Key ID, Secret Access Key, Region Name and Output Format.

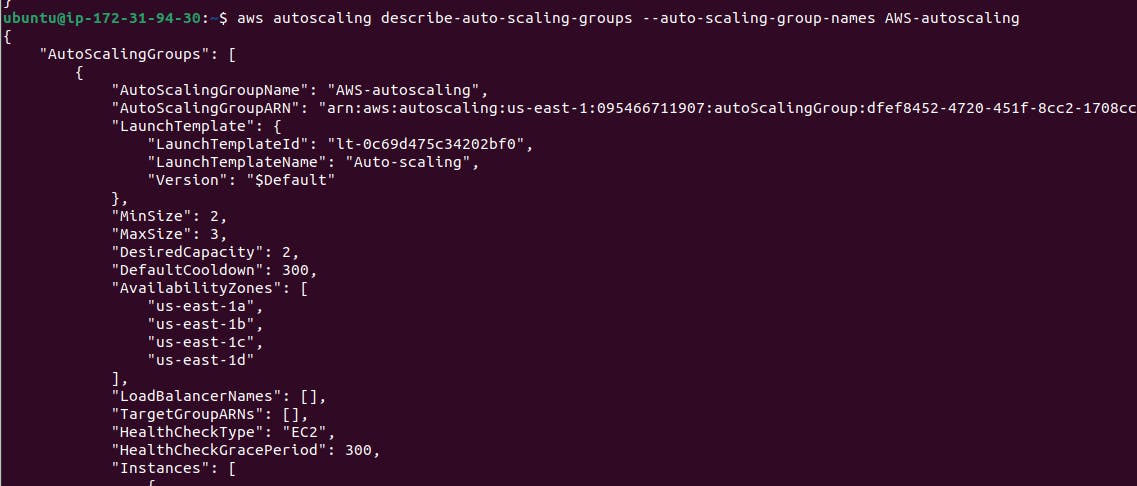
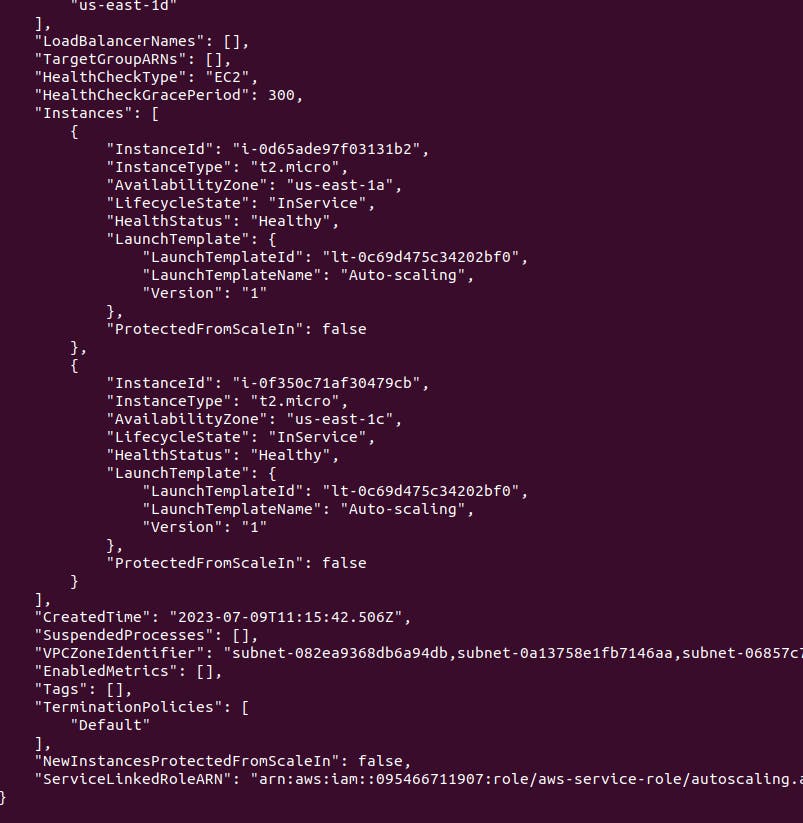
- Use the following AWS CLI commands to view the state of the Auto Scaling group and the EC2 instances
aws autoscaling describe-auto-scaling-groups --auto-scaling-group-names <auto-scaling-group-name>
#Replace <auto-scaling-group-name> with the name of your Auto Scaling group
Thank you for reading. I hope you were able to understand and learn something new from my blog.
Happy Learning!
Please follow me on Hashnode and do connect with me on LinkedIn ArnavSingh.