

Task-01
- As WordPress requires a MySQL database to store its data, create an RDS as you did on Day 44
To configure this WordPress site, you will create the following resources in AWS:
An Amazon EC2 instance to install and host the WordPress application.
An Amazon RDS for MySQL database to store your WordPress data.
Set up the server and post your new WordPress app.
As WordPress requires a MySQL database to store its data, create an RDS as you did on Day 44
Plz, refer to this Blog to create RDS--> Day44-RDS_IN_AWS.
Set up the EC2 instance to host the WordPress application:
SSH into the EC2 instance using a terminal or SSH client.
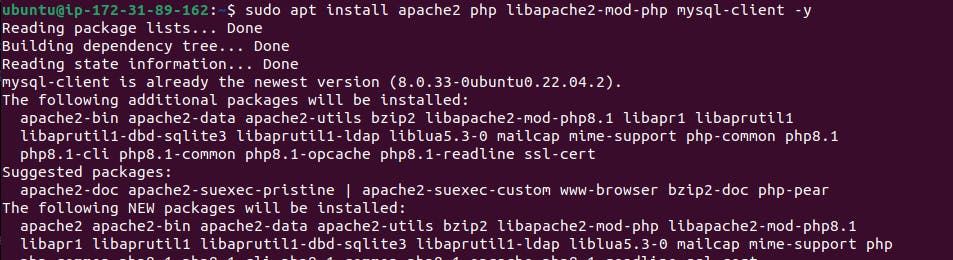
Install Apache, PHP, and MySQL client:
    sudo apt update
    sudo apt install apache2 php libapache2-mod-php php-mysql -y
Before configuring the Apache web server, you need to create a database user for the WordPress application and grant it appropriate permissions to access the WordPress database.
Connect to your Amazon RDS instance using a MySQL client. Replace
<RDS endpoint>,<master username>, and<master password>with your RDS instance details:mysql -h <RDS endpoint> -u <master username> -pEnter the password for the master username when prompted.
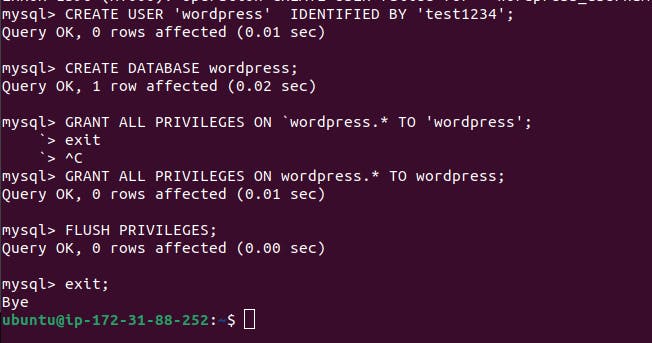
Create a new database user for the WordPress application. Replace
<wordpress_username>and<wordpress_password>with your desired username and password:CREATE USER '<wordpress_username>' IDENTIFIED BY '<wordpress_password>';Create the WordPress database if it doesn't exist. Replace
<wordpress_database>with your desired database name:CREATE DATABASE IF NOT EXISTS `<wordpress_database>`;Grant privileges to the database user for the WordPress database:
GRANT ALL PRIVILEGES ON <wordpress_database>.* TO <wordpress_username>;Flush the privileges to update the changes:
FLUSH PRIVILEGES;Exit the MySQL prompt:
exit;
- Configure Apache to serve the WordPress files:
    sudo a2enmod rewrite
    sudo systemctl restart apache2

- Download and extract the latest WordPress files:
    wget https://wordpress.org/latest.tar.gz
    tar -xvzf latest.tar.gz

- need to go to the WordPress directory

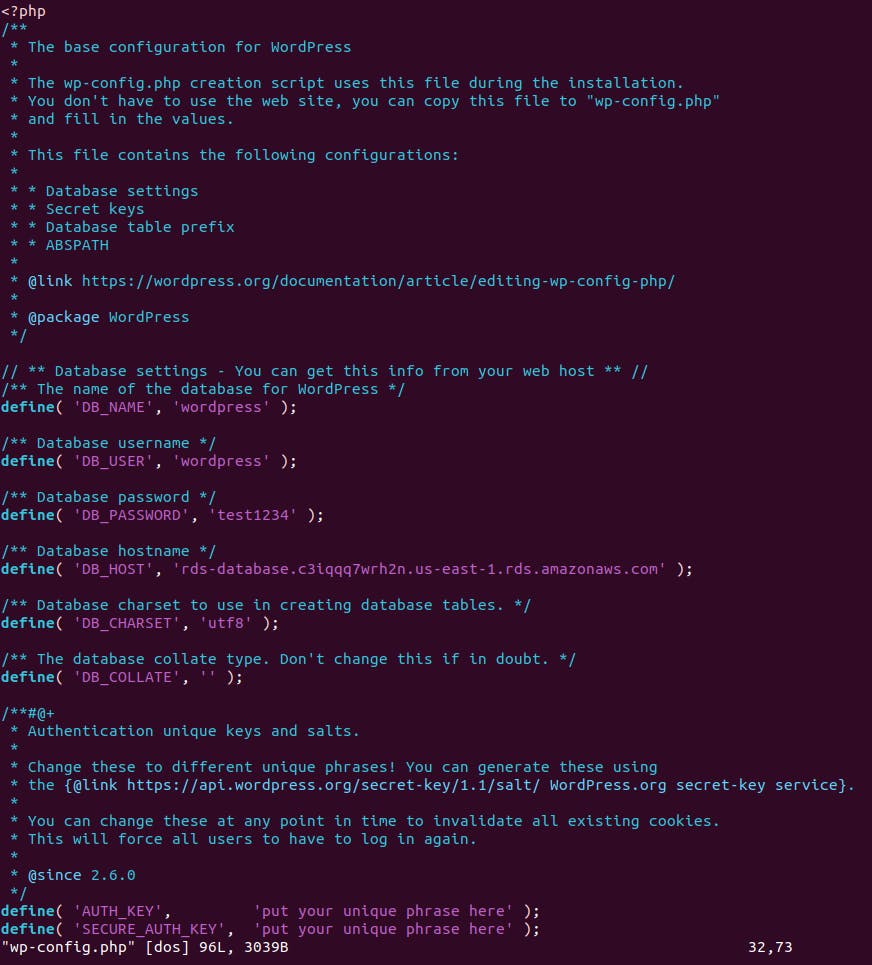
Now create a copy of the config file and edit the wp-config.php file
Update the WordPress configuration file (
wp-config.php) with the database connection details.
    sudo cp wp-config-sample.php wp-config.php
    sudo vim wp-config.php
- Copy the extracted WordPress files to the Apache web server document root:
sudo cp -r wordpress/* /var/www/html/
- Restart the Apache web server:
sudo systemctl restart apache2
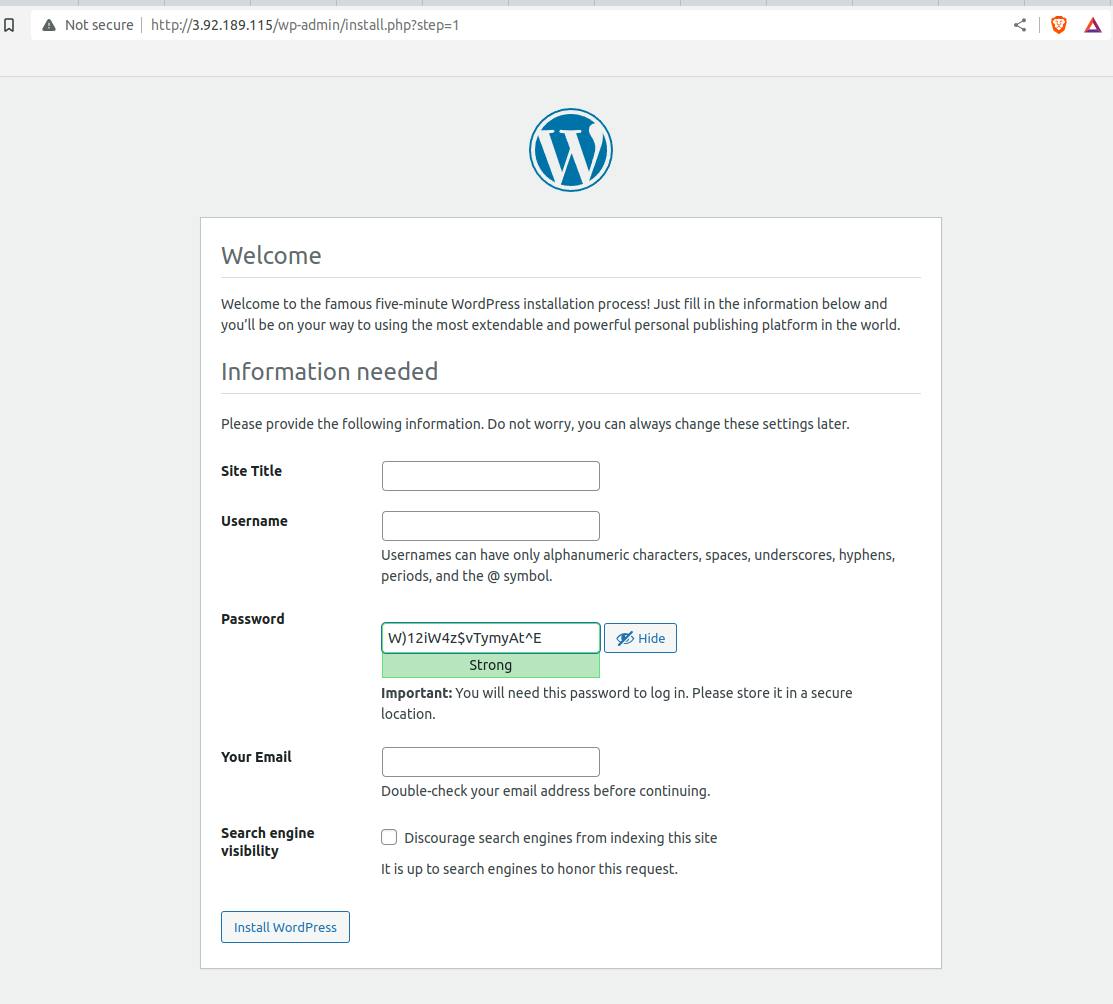
Access your new WordPress site:
Open a web browser and enter the public IP address or DNS name of your EC2 instance. You should see the WordPress installation page.
Follow the on-screen instructions to complete the WordPress setup.

Thank you for reading. I hope you were able to understand and learn something new from my blog.
Happy Learning!
Please follow me on Hashnode and do connect with me on LinkedIn ArnavSingh.